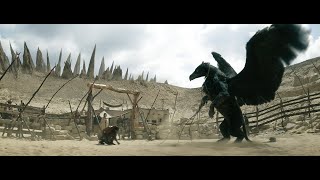
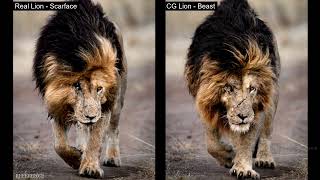
Rebel Moon: Part 2 - The Scargiver VFX Breakdown | Framestore Framestore 59,6 тыс. подписчиков Скачать
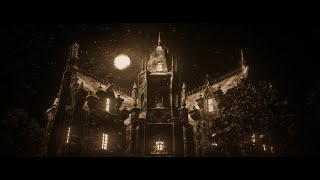
Lionsgate Entertainment World: Behind the Scenes of Gods of Egypt: Battle for Eternity | Framestore Скачать