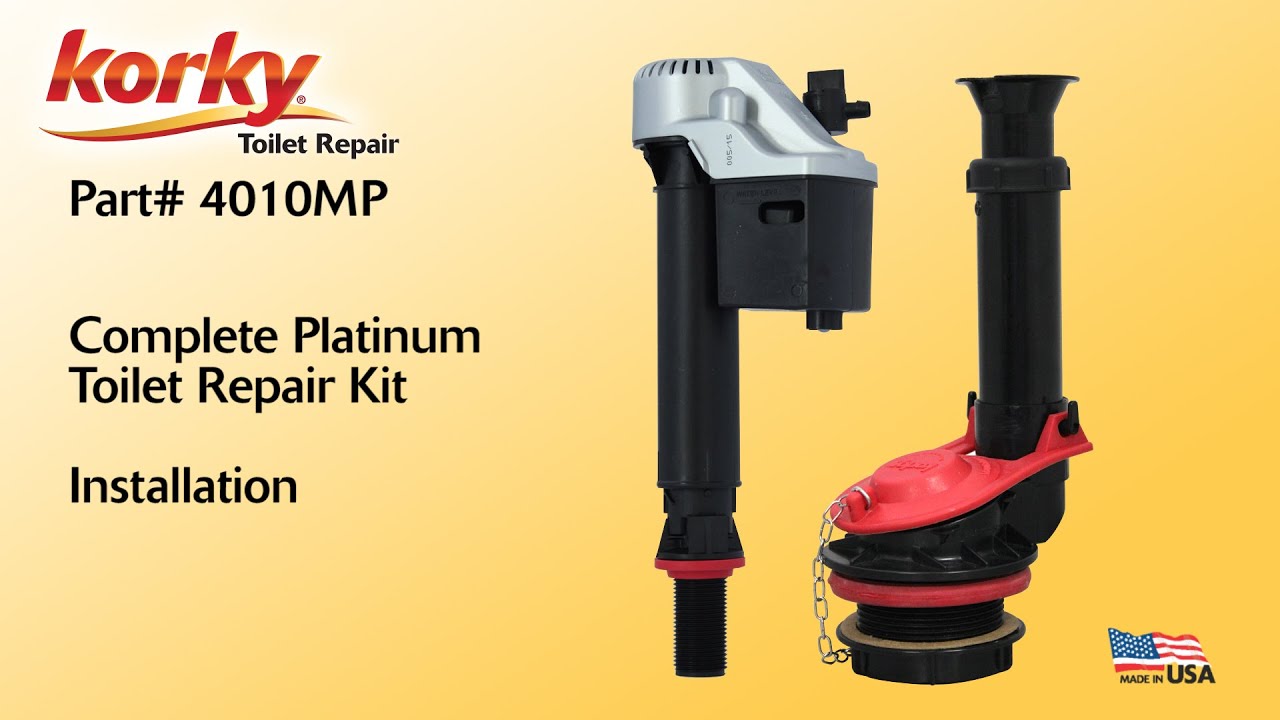
Complete Platinum Toilet Repair Kit Install by Korky | [ Ссылка ]
Hello and Welcome to Korky Toilet Repair.
Today we are going to install your new Korky Complete Platinum Toilet Repair Kit.
The first step is to shut off the water supply to your toilet.
Next flush your toilet.
Mark the water level in the tank with a pencil.
Drain the excess water.
Sponge out the remaining water in your toilet tank.
Place a bucket underneath your toilet tank to catch any excess water.
Disconnect your water supply line and remove the mounting nut.
Remove the old fill valve.
Locate and remove all old nuts, bolts, and washers from the toilet tank.
Carefully lift up on the tank and remove it from the bowl.
Remove the old tank-to-bowl sponge gasket.
Remove the old mounting nut and pull the old flush valve and flapper out of the toilet tank.
Place your new Korky flush valve into the toilet tank, and slide the chipboard washer over the threads.
Hand-tighten the mounting nut.
Place the new red sponge gasket over the mounting nut threads.
Carefully set the tank onto the bowl.
Use the new bolts, rubber washers, washers, and hex nuts, included in the packaging to attach the tank to the bowl.
Apply downward pressure to keep the tank level as you tighten the nuts in an alternating fashion until the tank is stable.
Do not over tighten the nuts; doing so may cause the porcelain to crack.
Next, set the height of the flush valve.
Loosen the locknut and extend the overflow tube until the top of the overflow tube is one inch below the flush lever nut, then hand-tighten the locknut.
Now, turn the top of your new fill valve counter clockwise and pull up to fully extend.
Place the valve in the tank and press down on the fill valve until the corner of the silver cover lines up with the top of the flush valve.
Lock the fill valve in place by twisting the upper half clockwise.
Make sure the rib on the top of the valve lines up with the pegs on the bottom half.
Attach the refill tube to your new fill valve.
Make sure the refill tube has a direct path to the flush valve.
When your fill valve is set, screw on the mounting nut until hand tight.
Push the refill tube towards the front of the tank to ensure the port is locked in place.
Insert the metal clip into the refill tube and attach the clip to the flush valve.
Turn the refill adjuster clockwise to the fully open position.
Then attach the flapper chain to the flush lever with minimal slack.
Reattach the water supply line.
Turn the water supply on and wait for the tank to fill completely.
Turn the water supply off and flush.
If the water drops within a half inch of the pencil mark your flapper installation is finished.
If not, rotate the band to the open position and reinstall the flapper.
Turn the water supply on and let the tank refill completely.
Turn the water supply off and flush.
If your water level is still not within a half inch of the pencil mark, adjust the dial so the next lowest number aligns with the arrow.
Then reinstall your flapper.
Turn the water supply on and let the tank refill completely.
Turn your water supply off and flush.
Repeat this process until the water level drops within a half inch of the pencil mark.
Turn the water supply on and let the tank fill completely.
Flush.
Wait 2 minutes for the water in the bowl to settle, the excess water will drain out.
Mark the water level in the bowl with a pencil or dry erase marker.
Flush.
If the bowl water level reaches the mark before the tank is finished filling, turn the dial counter-clockwise to reduce flow.
If the bowl water level is below the mark once the tank is done filling, turn the dial clockwise to increase flow.
Repeat this step until the water level reaches the pencil mark at the same time the tank finishes filling.
Congratulations, you have successfully installed your new Korky Complete Platinum Toilet Repair Kit.
Thank you for choosing Korky.
If you have any questions or need further assistance with your installation, please visit our website or call us at 1 800 528 3553.