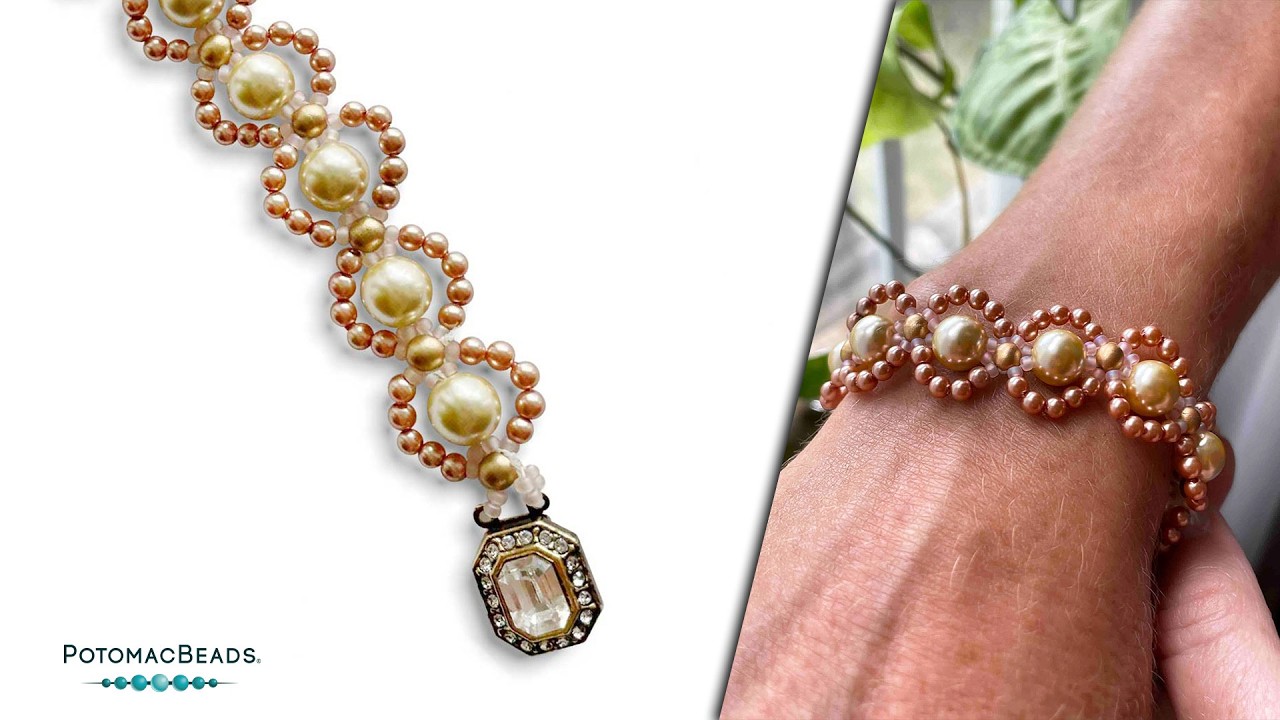
Create a stunning balanced pearl bracelet with this DIY jewelry-making tutorial by PotomacBeads. Learn how to use 8mm pearls, 3mm pearls, RounDuo Mini beads, and 11/0 Miyuki seed beads to craft a beautiful bracelet. Follow step-by-step instructions to add a vintage clasp and ensure your bracelet is secure and durable. Perfect for beading enthusiasts looking to expand their skills and create elegant jewelry. Gather your materials and join Ally in this creative project. Check the video description for links to all the supplies you'll need.
Click here for complete bead & jewelry-making supply lists:
➡️ [ Ссылка ]
The video tutorial by PotomacBeads demonstrates how to create a beautiful and elegant balanced pearl bracelet using various types of beads and a clasp. The instructor, Ally, provides step-by-step instructions on how to assemble the bracelet, ensuring that each bead is placed correctly to maintain the bracelet's structure and aesthetic appeal.
Learning Points:
How to create a balanced pearl bracelet using 8mm pearls, Round Duo Mini beads, and 11/0 seed beads.
Techniques for securing beads in place to maintain the bracelet's structure.
Tips for adding a clasp to the bracelet.
Methods for reinforcing the bracelet to ensure durability.
Creative variations using different types of beads and colors.
The designer's suggested colors & materials:
• Potomac Pearls - Old Lace 8mm, 11 beads
• Potomac Pearls - Rose Gold 3mm, 110 beads
• RounDuo Mini Beads - Aztec Gold 4mm, 12 beads
• Miyuki Seed Beads - Matte Transparent Light Tea Rose AB 11/0, ~ 1 Gram
• Claspgarten Diamondback Princess Box Push Clasp with Swarovski Crystal | 22x12mm, 1 piece
Enjoy using this jewelry-making bead tutorial video to help you become a more creative and happier beader!
00:00 - Intro: Introduction to the project and materials needed.
00:32 - Step 1: Beginning the bracelet with a stop bead and adding the first beads.
04:15 - Step 2: Adding Round Duo Minis and seed beads to form the bracelet's structure.
06:43 - Step 3: Continuing the bead pattern and securing the beads in place.
08:41 - Step 4: Adding the clasp and reinforcing the bracelet for durability.
10:53 - Outro: Final thoughts, tips for variations, and a call to action.


![[4K] RINA ON THE STREET CUTOUT | AI LOOKBOOK](https://s2.save4k.ru/pic/_J5KvfidnJU/mqdefault.jpg)