In todays video we talk about the origins of popular horror images such as the Russian sleep experiment photos, Killer clown, Liminal space images and more. We also answer the question., Where did these images come from?
BIG THANKS TO JADEN SALADS: [ Ссылка ]
Jaden Salads and I other collab video: [ Ссылка ]
SHOP AT EARL!
[ Ссылка ]
Socials
Instagram: [ Ссылка ]
TikTok: [ Ссылка ]
Twitter: [ Ссылка ]
Credit
[ Ссылка ]
[ Ссылка ]
tags: Creepy pasta, creepy pastas, creepy pasta origins, creepy pasta photo origins, the Russian sleep experiments, The Cooper family falling body, Killer clown, Wasco clown, killer clown craze, Jeff the killer, smile dog, smile.jpg, backrooms, The Origins of Disturbing Images, Where Did This Image Come From?, The Origins of Creepy Pasta Images Explained, Where was this photo taken?
intro 0:00
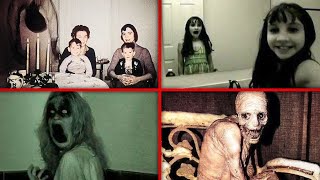
Russian sleep experiment 1:38
Cooper family falling body 5:58
Clown with an axe 8:25
4 children for sale 9:26
The Monroe house 10:33
premises on Pskov 11:43
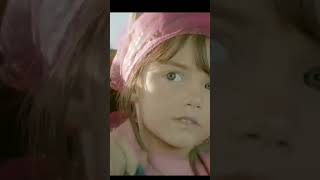
Ghost girl gif 12:36
Smile 13:23
Ghost girl in mirror 14:11
Mickey in basement 15:15
Wasco Clown 16:40
if you're reading this for some weird reason go comment "tuv is about to steal Jaden's hairline"


![𝐃𝐎𝐋𝐋 𝐁𝐄𝐀𝐔𝐓𝐘||кукольная внешность [саблиминал]](https://i.ytimg.com/vi/slRbqDq_008/mqdefault.jpg)