Sure, here are some DIY tips on laying porcelain tiles:
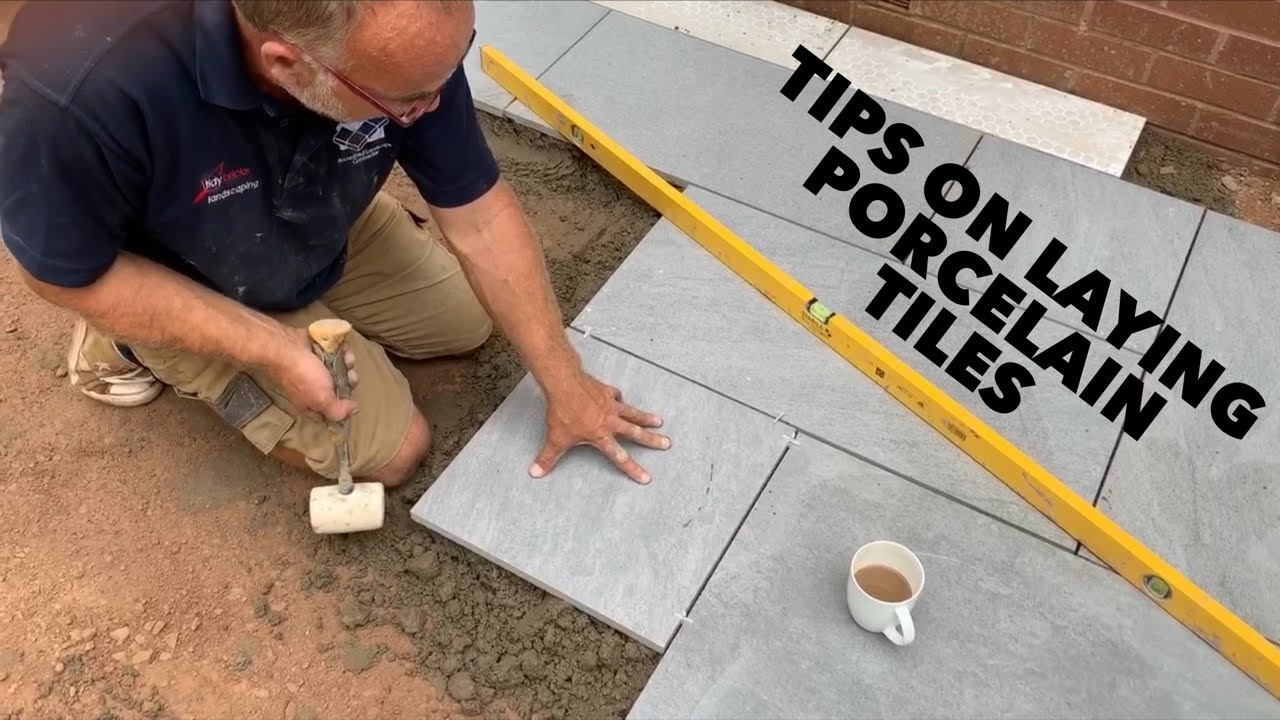
1. Prepare the surface: Before you start laying porcelain tiles, you need to prepare the surface. This involves removing any old tiles, cleaning the surface, and leveling the floor. Use a level to ensure that the surface is even and flat.
2. Measure and plan: Measure the area where you want to lay the porcelain tiles and plan the layout. This will help you determine the amount of materials you need and ensure that your tiles are the right size and shape.
3. Mix the mortar: Mix the mortar according to the manufacturer's instructions. Use a trowel to spread the mortar evenly over the surface, making sure to cover the entire area.
4. Lay the tiles: Start at one corner and work your way out, laying each tile in a straight line. Use spacers to ensure that the tiles are evenly spaced and aligned. Use a level to ensure that each tile is even and flat.
5. Cut the tiles: Depending on the shape of your surface, you may need to cut some of the tiles to fit. Use a tile cutter or a wet saw to make precise cuts, and wear protective gear to avoid injury.
6. Grout the tiles: Once the tiles are laid, you need to grout the gaps between them. Mix the grout according to the manufacturer's instructions and use a grout float to spread it evenly over the surface. Use a damp sponge to wipe away any excess grout.
7. Seal the tiles: Finally, seal the tiles to protect them from stains and damage. Use a sealant that is specifically designed for porcelain tiles and follow the manufacturer's instructions.
Remember, laying porcelain tiles can be a challenging and time-consuming project, so don't be afraid to ask for help or hire a professional if you need it. With the right materials and techniques, you can create a beautiful and functional surface that you'll enjoy for years to come.


![Они меня преследуют! | MEOW - 4 серия [4K]](http://i.ytimg.com/vi/U_PeNutGOH8/mqdefault.jpg)