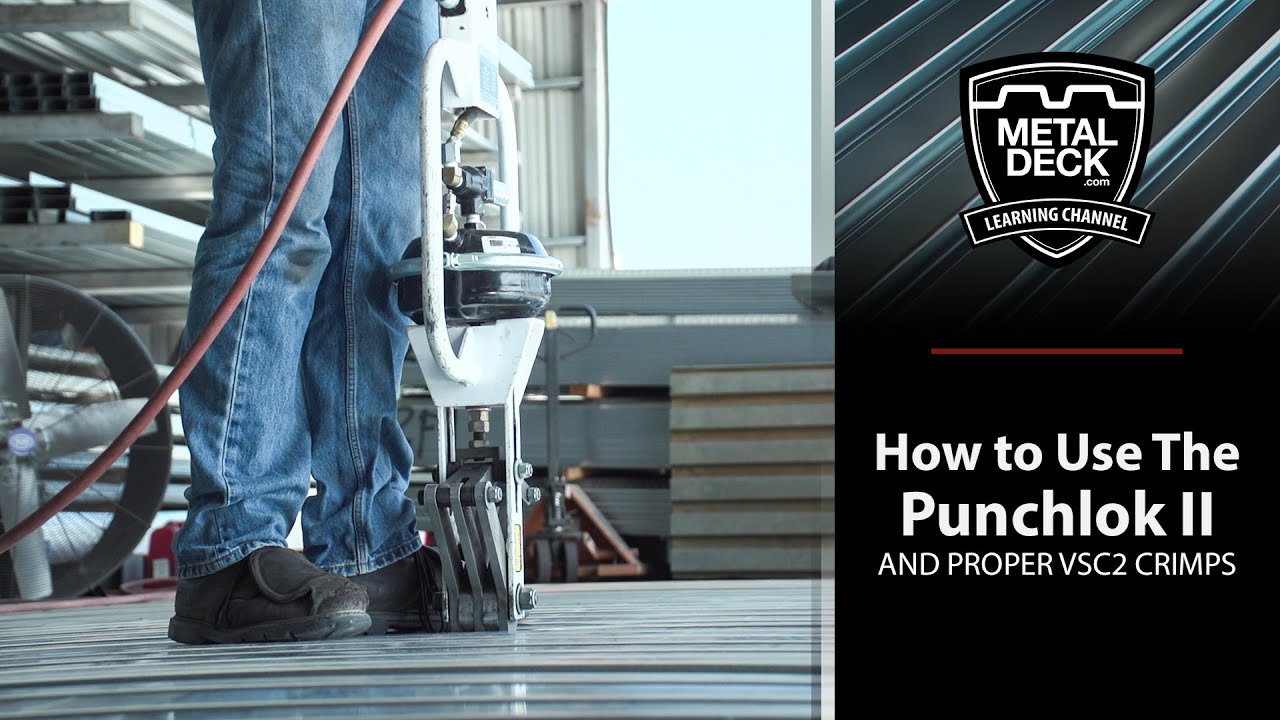
Learn How To Install Punchlok II Metal Decking. EASY Step By Step Installation Instructions Vulcraft And Verco Punchlok II Decking. Includes Punchlok II Tool set up and maintenance, air compressor settings and set up, what a VSC2 sidelap connection should look like, how to punchlok a metal decking job, and safety procedures.
Do you have a metal decking job that is specified as Verco Punchlok II or Vulcraft Punchlok II? You will need a special Punchlok II tool that is capable of a VSC2 sidelap connection crimp.
00:00 How to use the Verco Punchlok II tool
00:59 What type of equipment and air compressor is required to Punchlok a metal decking job?
02:20 What are the air compressor settings for Punchlok II metal deck
03:22 What is the required maintenance for the Punchlok II tool?
04:07 Setting up the work area
04:41 What is the spacing for VSC2 Punchlok metal decking?
04:55 Safety procedures for Punchlok II
05:42 How to operate the Verco and Vulcraft Punchlok II tool
05:52 What is the spacing for VSC2 Punchlok metal decking?
07:38 What does a VSC2 sidelap connection look like?
If you already have not purchased your Punchlok metal decking give us a chance to bid your job. Same day and next day delivery. Inexpensive delivery anywhere within the United States.
Do you need a Punchlok II Tool?
We are a Punchlok Distributor and we have Punchlok metal deck and tools in stock.
[ Ссылка ]
Learn More About Punchlok Metal Deck
[ Ссылка ]
Visit Our WEBSITE
[ Ссылка ]
Visit our LEARNING CENTER
[ Ссылка ]
Punchlok II Metal Decking Can Only Be Used On Verco And Vulcraft Metal Decking
What Are The Types Of Verco Punchlok II Metal Decking
Verco Punchlok Roof Deck
PLB-36
PLN-24
PLN-3
Verco Punchlok Floor Deck
PLB-Formlok
PLW2-Formlok
PLW3-Formlok
PLN-Formlok
PLN3-Formlok
What Are The Types Of Vulcraft Punchlok II Metal Decking
Vulcraft Punchlok Roof Deck
1.5 PLB-36
3 PLN-32
PLN-3
Vulcraft Punchlok Floor Deck
1.5PLVLI-36
2PLVLI-36
3PLVLI-36
If this is your first time encountering a job with the Punchlok II tool requirement, you probably have a few questions. You’ve probably already learned where to get the PunchLok II tool, and what the tool used for. But one of the most important questions that you probably have is: how do I operate the PunchLok II tool?
We will cover the following to make sure you have all the resources you need to Punchlok II your next job:
What equipment do you need to operate the Punchlok II tool?
The Proper Air Compressor Settings
Required maintenance
Setting up your work area
How to operate the PunchLok II Tool
Safety procedures
What equipment do I need to operate the Punchlok II tool?
In order to make your job go smoothly and save time and money, you will need to make sure you have the required equipment. You’ll need an air compressor and an air hose to properly operate the Punchlok II tool.
What Type of Air Compressor do I need for the Punchlok II tool?
he most important item you need to operate the Punchlok II tool is an air compressor. The air compressor is what you will use to supply power to the Punchlok II tool. The proper compressor needs to be capable of creating 100(PSI) pounds per square inch.
We recommend Rolair 5.5-HP 9-Gallon Gas Wheelbarrow Air Compressor w/ Honda Engine or the Makita MAC5501G 5.5 HP, because for that size of compressor, they have the best power, storage capacity, length of time to fill the tank of any that we have found at a reasonable cost. As long as your compressor is good for 100 PSI, it will get the job done.
The reason you want an air compressor with 100 PSI capacity is the air tank must be large enough to allow you to work without continually stopping and waiting for the compressor to refill the air tank. If your air tank is too small it could take much longer than it should.
How To Punchlok A Metal Deck Job
How To Operate the Punchlok II Tool:
1. Attach one end of the air hose to the Puncklok II tool and the other end to your compressor.
2. Start the compressor and wait for the pressure to get to the correct PSI setting. Use the reference chart above to get your PSI setting based on the gauge of the metal decking.
3. Hold the tool in the upright position and put the jaws over the side lap. Then pull the trigger. You will hear a clicking sound when it’s done.
4. Move forward to the next location and repeat the process.
6. Make sure to lubricate the tool every 4 hours of production.
7. At the end of every day, be sure to drain your tank.
Get started with your Punchlok II job
Prior to even using the Punchlok II tool you need to make sure you purchase Punchlok II metal deck. This is the only way you will be able to get your hands on a Punchlok II tool. The Punchlok system is a proprietary system, you can only use the Punchlok II tool to connect the side laps of Punchlok II metal deck.


![Не быкуй, по-хорошему реши | MEOW - 16 серия [4K]](https://i.ytimg.com/vi/8IHe68F-SDs/mqdefault.jpg)


![Тема есть – бабки поднимем | MEOW - 9 серия [4K]](https://i.ytimg.com/vi/N_pikiZVOOo/mqdefault.jpg)
![Братан, у нас ломка | MEOW - 15 серия [4K]](https://i.ytimg.com/vi/Bwfv4NJQDR8/mqdefault.jpg)


![Бодаться со мной решил? | MEOW - 10 серия [4K]](https://i.ytimg.com/vi/AxctLkzD5dk/mqdefault.jpg)