Free customized Press to Handstand Workout:
[ Ссылка ]
The Press to Handstand is without a doubt one of the most desired moves when it comes to handstands, yoga, calisthenics or any movement category related to gymnastics. Not only is it a beautiful and elegant way to get up into the handstand whilst staying in full control but also can the press to handstand be great for conditioning training and to improve overall coordination and body awareness.
First up, before really discussing anything here we need to set 1 thing clear: The Press to Handstand comes in many different forms. Bent arm, straight arm, with legs together, from a stalder, etc, etc, etc… While the technical details and training approaches can be applied to the bent arm press to handstand and the stalder press I will be focusing on the regular straight arm straddle Press to Handstand from a Standing position here.
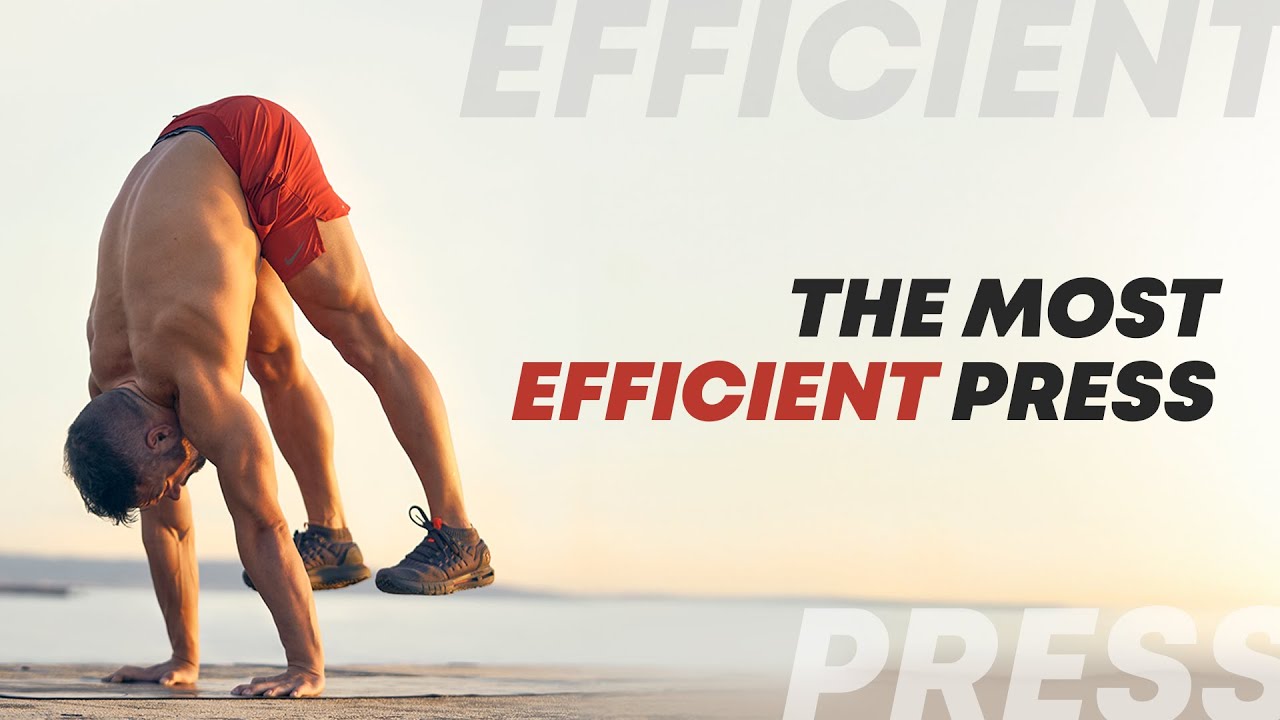
The press to handstand consists of 3 parts. We have the take off, the compression period and the unrolling into the handstand. The better you get at separating these parts from another the easier and the more efficient your press will get.
A good press should be gentle on the wrists and does not need a lot of space. If you have to lean your shoulders far towards the front in order to get the hips up you are not compressing enough. You are forced to planche your way up into the handstand. This is a cool skill if you are super strong but again not the goal of today’s exercise.
When you first start training for the press it feels absolutely impossible to get off the floor or up into the handstand. If you practice handstands a bit and someone asks you to do a press to handstand this usually feels like an absolute joke to the world. Breaking the movement up into separate parts and drills as described above usually helps quite a lot.
One of the best things that you can do for your press to handstand is to do slow negatives. From a handstand lower down. Start by lowering your feet to a table. You will basically do part 3 only. Keep your hands, shoulders and hips perfectly aligned and just bring the feet down to the table. Once this is stable and coordinated properly add part 2 in the reverse mix. Pull the feet down as much as possible without moving the shoulders towards the front. Then when you think you can not go any lower pull a tiny bit harder before finally leaning the shoulders in front and dipping the hips and feet towards the floor.
The goal is to make it down whilst staying in full control. In an ideal world you will touch the floor with the nail of your bog foot only and stay there for a moment. This of course will not be possible at first. At some point throughout the movement you will feel as if you are losing control. Here you have to resist! At the moment do not think of lowering anymore. Simply focus on freezing at this sticking point. Gravity will take care of the rest. Don’t worry 😉
#presstohandstand #straddlepress
Press to Handstand Academy - Complete Online Course
[ Ссылка ]
Learn more about Handstands:
[ Ссылка ]
Upcoming Live Events:
[ Ссылка ]
Coach Bachmann Social & Website
Instagram: [ Ссылка ]
Facebook: [ Ссылка ]...
Pinterest: [ Ссылка ]
Website: [ Ссылка ]
Timestamps
00:00:00 How to Press to Handstand
00:01:28 Part 1 - Take Off
00:02:23 Part 2 - Compression
00:04:53 Part 3 - Unrolling
00:05:31 What you have to train

![[Урок Archicad] Рельеф в Archicad по топосъемке](http://i.ytimg.com/vi/jhkTooauH1k/mqdefault.jpg)