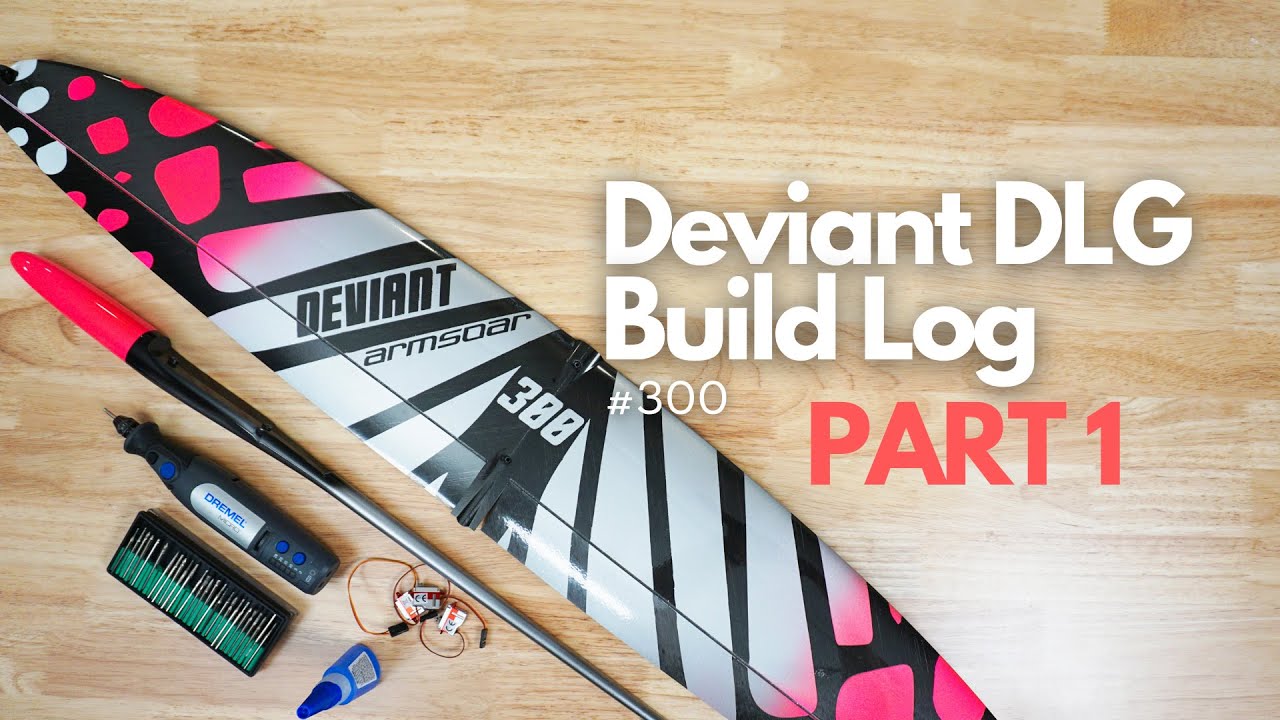
This is the first of two parts of my Deviant RC glider installation. You can think of this as a build manual or instructions to follow along on your own Deviant DLG. This is a rudderless build, and in part one we install the spring for the elevator, all the control horns and the throwing blade as well. In part two of the tutorial, we will install the servos, pushrod, and pull-string.
Deviant DLG (Kit): [ Ссылка ]
Deviant DLG (Receiver-Ready): [ Ссылка ]
CA applicator tips: [ Ссылка ]
Wireless Dremel: [ Ссылка ]
Keyless Chuck: [ Ссылка ]
Diamond Burr Bits: [ Ссылка ]
My ultimate tool guide for DLGs: [ Ссылка ]
Deviant throwing blade installation template: [ Ссылка ]
ArmSoar: www.armsoar.com
ArmSoar USA: www.armsoarusa.com
Resources / What I Use
KST X06 Servo (International): [ Ссылка ]
KST X06 Servo (Canada & USA): [ Ссылка ]
KST X08 v5 Servo (International): [ Ссылка ]
KST X08 v5 Servo (Canada & USA): [ Ссылка ]
Wire For Pull Strings: [ Ссылка ]
Crimps For Pull Strings: [ Ссылка ]
5mm Gap Seal Tape: [ Ссылка ]
Kapton Tape: [ Ссылка ]
Spektrum AR6610T Receiver: [ Ссылка ]
Spektrum AR410 Receiver: [ Ссылка ]
Spektrum iX20 Radio: [ Ссылка ]
FrSky GR6 Receiver: [ Ссылка ]
FrSky R6 Receiver: [ Ссылка ]
FrSky X20 radio: [ Ссылка ]
FrSky X20S radio:[ Ссылка ]
I hope you find that useful! Just so you know, ArmSoar may collect a small share of sales from the Amazon links on this page. It doesn't cost you anything and helps out our channel.