The long awaited Axial SCX24 RIPPER build begins! In this video I assemble in detail a Little Guy Racing Parts Ripper chassis kit! Due to multitude of parts and the in-depth installation, I will be splitting this series into two parts. In part one, I break down the kit and put it all together, ending with a completely assembled rolling chassis. Part two will follow where I power this beast up! Enjoy!
Custom paint by Big Mountain Customs: bigmtncustomrc@gmail.com
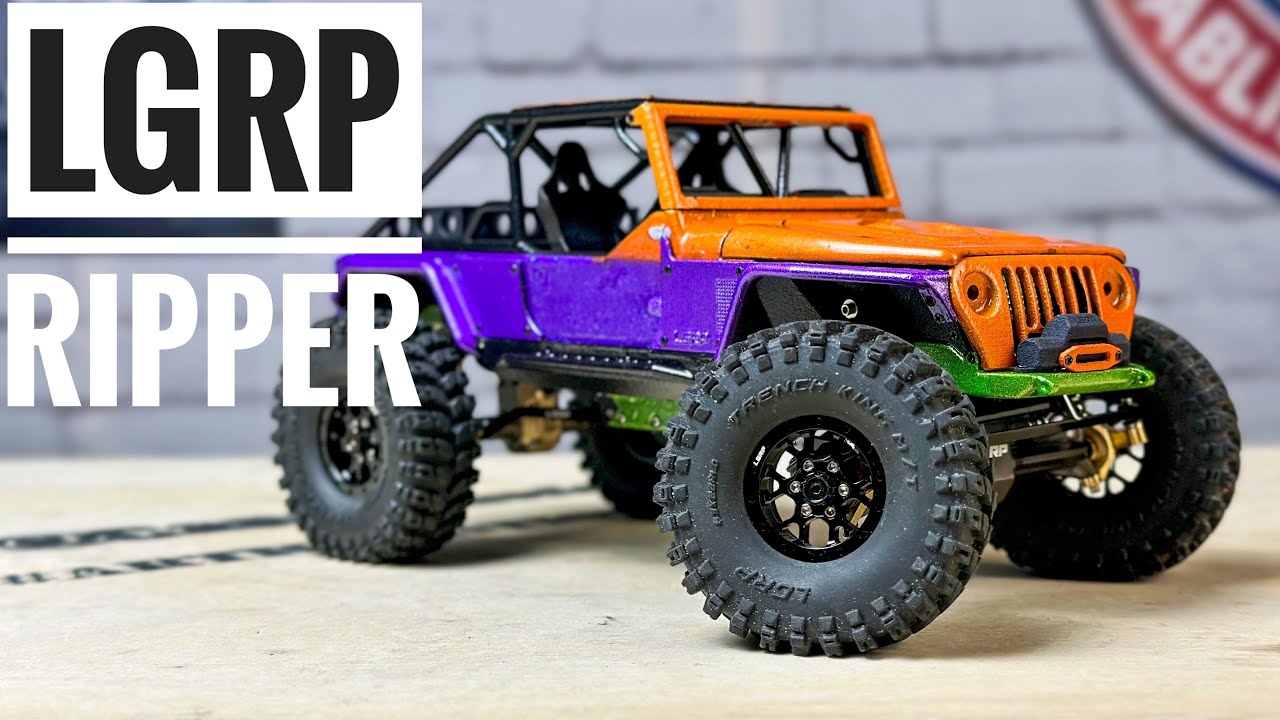
10% off any LGRP products with my code CAPE10! Build list below:
LGRP chassis kit: [ Ссылка ]
LGRP Axles: [ Ссылка ]
Tires: [ Ссылка ]
Wheels: [ Ссылка ]
Underdrive gears: [ Ссылка ]
Servo: [ Ссылка ]
Shocks: [ Ссылка ]
Affiliate links:
Tower Hobbies: [ Ссылка ]
Horizon Hobbies: [ Ссылка ]
Amain Hobbies: [ Ссылка ]
FairRC: [ Ссылка ]
Discount codes
5% off RCAWD: [ Ссылка ] - discount code CapeCrawlers
$10 off any order $50 or more: [ Ссылка ] - discount code Capecrawlers
10% off the FMS FCX24 Power Wagon: [ Ссылка ] - code Capecrawler10%
5% off any Injora products: [ Ссылка ] - code Capecrawlers05
10% off any Little Guy Racing Parts products:
[ Ссылка ] - code CAPE10
5% off any Flubberstufferz products: [ Ссылка ] - code Capecrawlers5
Email me with suggestions or collaboration inquiries: capecrawlersRC@gmail.com
Follow us on Instagram @capecrawlers!
Timestamps
Custom paint and details: 1:29
Overview of the chassis kit components: 3:44
Detailed installation begins, interior and cage: 6:53
Fenders/grill: 12:22
Inner fenders and battery/esc tray: 16:33
Frame: 18:06
Axles, linkage, skid plate: 22:02
Wheels & Tires: 32:09
Finished product: 33:41
Final thoughts and next steps: 37:09


![Back in Black. | GT3 458 x AMG [4K]](http://i.ytimg.com/vi/LgHj9zlA2Ag/mqdefault.jpg)