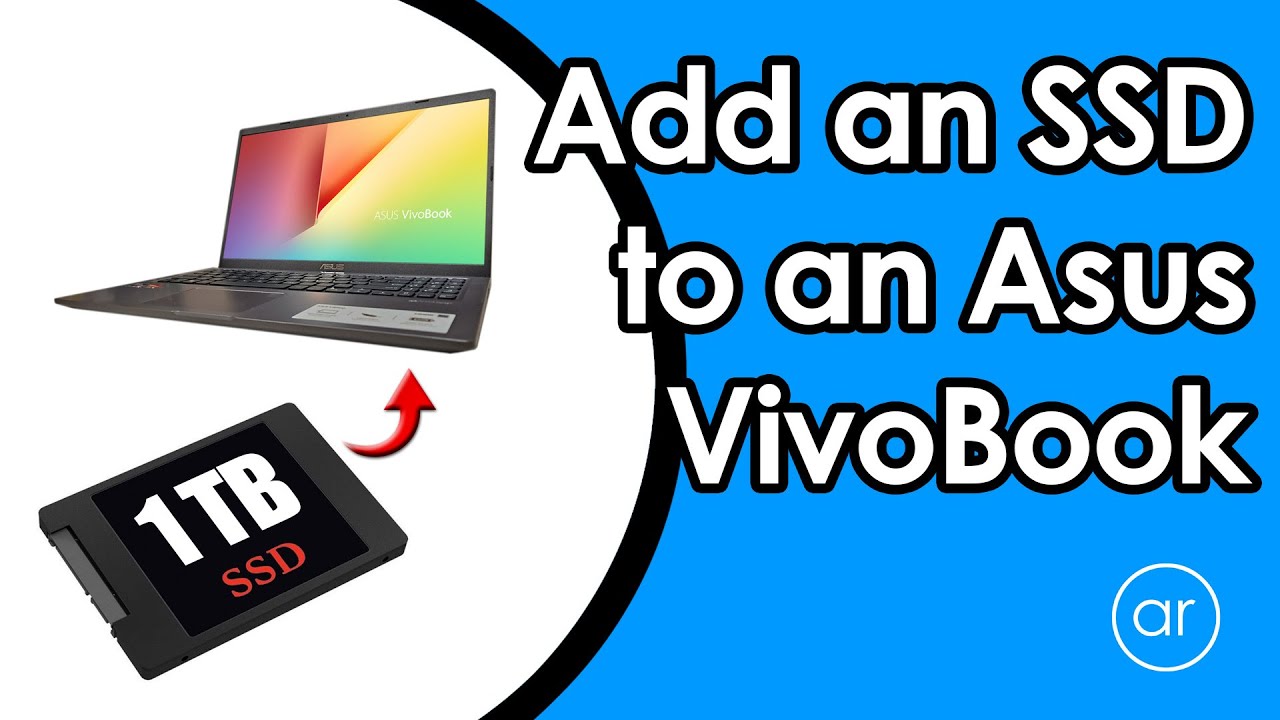
In this video, I show you how to disassemble a brand new Asus VivoBook M515 in order to install a 1TB 2.5" Teamgroup T-Force Vulcan G SSD. There are several configurations of the M515UA which were released in 2021, but this particular model has an AMD Ryzen 5 5500U with 16GB of RAM and a 512GB M.2 NVMe SSD. While 512GB is a respectable amount of storage, I wanted to add an additional 1TB SSD. However, the M515 doesn't have a traditional SATA connector; instead, it has a ribbon connector that requires a 10-Pin B adapter. #ASUS #VivoBook
00:00 Introduction
00:56 The Plan
02:46 Disassembly
06:54 Reassembly
PLEASE NOTE: the official way to enter the BIOS on the M515 is to hold F2 down will hitting the Power key. Keep F2 down until the BIOS screen appears.
A great tip, thanks to djarumz: "Just thought I'd point it out for anyone coming along after. The ribbon cable to the 2.5" Drive should route straight down from the connector and only have one bend then over to the 2.5" drive. Like a backwards L, sitting atop the battery. There's actually a cutout in the plastic between the battery and 2.5" bay for this purpose. And the ribbon cable is usually pre bent at a 90 degree angle to route this way. Tucking and squishing the cable like that can actually cause a bad connection over time. Just one right angle bend through and have the ribbon lay flat is best."
Items in this video:
Asus VivoBook M515 ► [ Ссылка ]
Teamgroup 1TB 2.5" SSD ► [ Ссылка ]
Jotoshur 10-Pin B Connector Cable ► [ Ссылка ]
Guitar Picks ► [ Ссылка ]
ESD Strap ► [ Ссылка ]
My Gear:
My Shure Microphone ► [ Ссылка ]
My Focusrite Audio Interface ► [ Ссылка ]
My Canon EOS Rebel T7i Camera and Lens (Kit) ► [ Ссылка ]
Thank you to all my subscribers and viewers!
Subscribe here ► [ Ссылка ]
Disclaimer: As an Amazon Associate I earn from qualifying purchases.