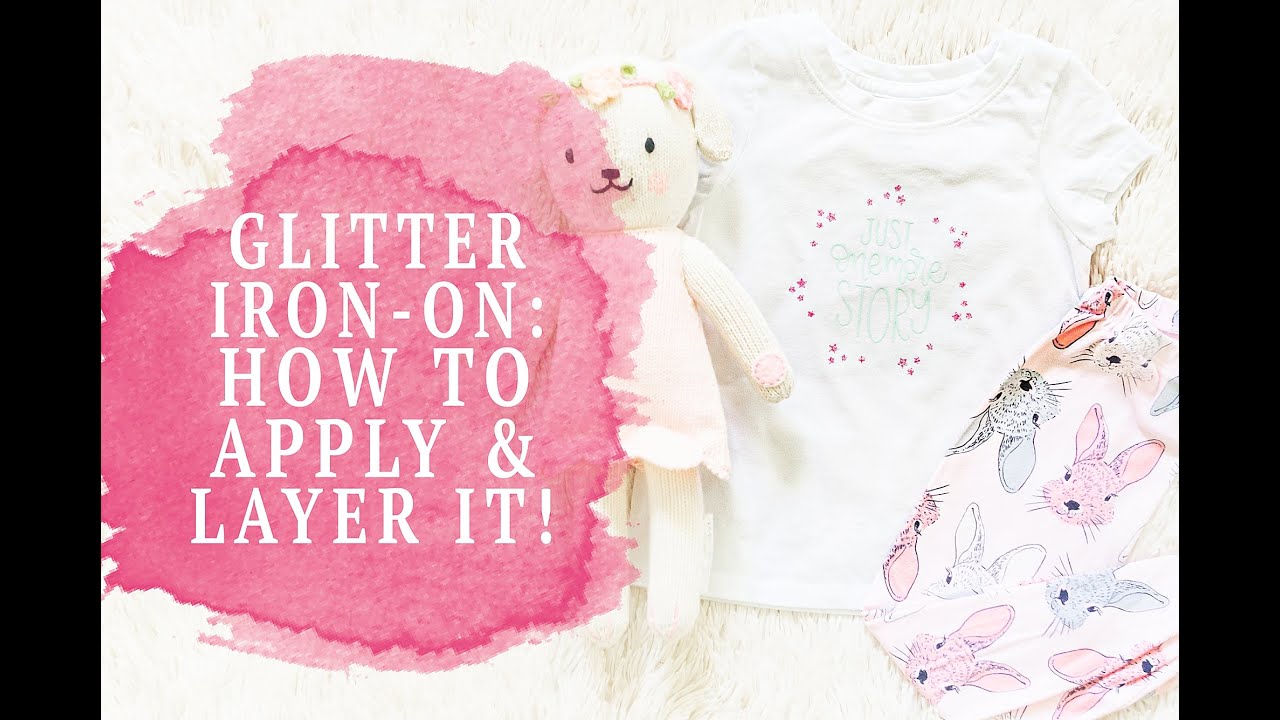
💗 Glitter Iron-On! How to Apply & Layer It From Start to Finish 💗
Glitter Iron-On is so beautiful and so easy to use! Learn how to cut, weed and apply glitter iron-on to a shirt with the Cricut EasyPress 2, from start to finish!
👉🏼 Learn even more about this craft at [ Ссылка ]
Affiliate links are available below, allowing you to easily shop the craft supplies used within this tutorial. Thank you in advance if you choose to support my channel by shopping my links so I can continue to create new content to inspire you.
✏️ Craft Supplies Used ✏️
🎀 Cricut Maker - [ Ссылка ]
🎀 Brayer Tool - [ Ссылка ]
🎀 Tool Set - [ Ссылка ]
🎀 Measuring Tape - [ Ссылка ]
🎀 Paper Trimmer - [ Ссылка ]
🎀 Easy Press 2 - [ Ссылка ]
🎀 Easy Press Mat - [ Ссылка ]
🎀 Iron-On Protective Sheet - [ Ссылка ]
🎀 Siser Easyweed HTV (Sea) - [ Ссылка ]
🎀 Glitter Iron-On (Flamingo) - [ Ссылка ]
🎀 True Control Knife - [ Ссылка ]
🎀 T-Shirts - [ Ссылка ]
@Expressions Vinyl Cut & Heat Guide : [ Ссылка ]
⭐️ Let’s Get Social! ⭐️
Lifestyle Blog - [ Ссылка ]
Instagram - [ Ссылка ]
Facebook - [ Ссылка ]
Pinterest - [ Ссылка ]
Cricut, Cricut Maker, DIY, Craft Tutorial, Custom T-Shirts, HTV, HTV Crafts, Cricut Maker Craft, Cricut Maker Tutorial, Cricut Maker First Project, Cricut Maker Shirts, Cricut Maker HTV, Cricut Maker Beginner, Custom Pajama Shirts, DIY Pajama Shirts, Cricut Design Space, Cricut Design Space Tutorial, Iron-On Craft, Iron-On, Iron-On Tutorial, HTV Tutorial, Glitter Iron-On, Glitter HTV