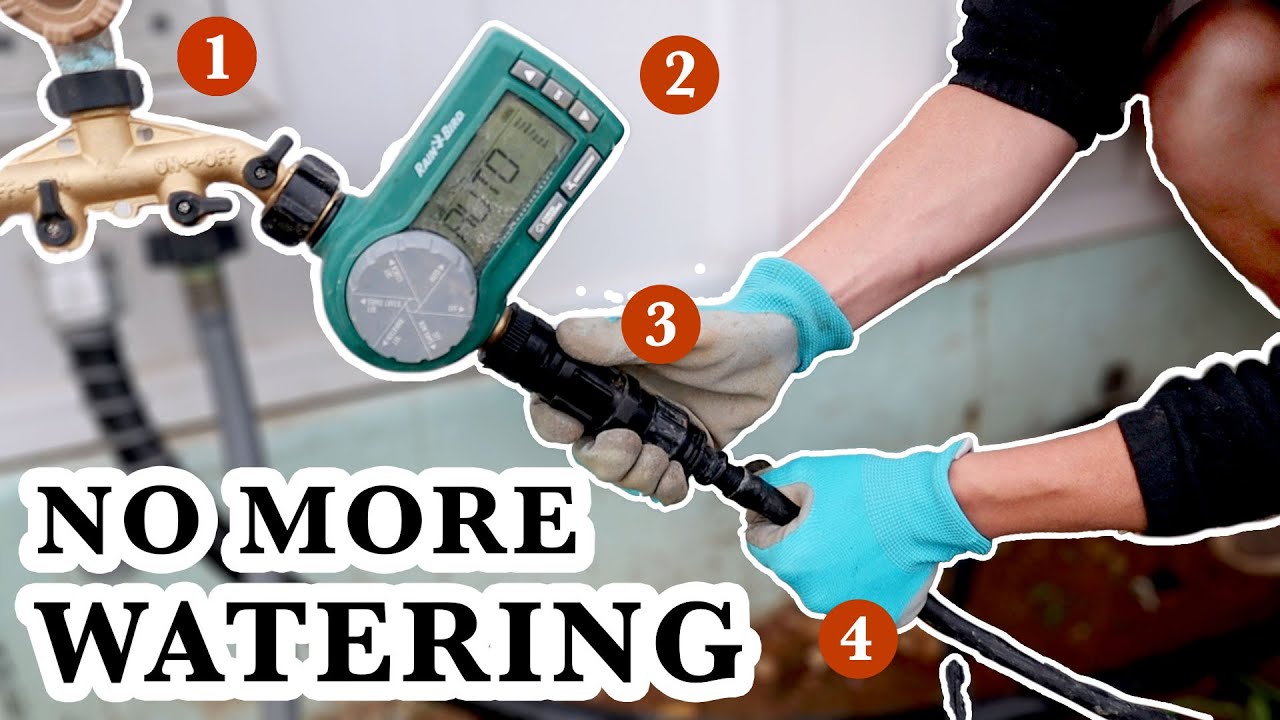
I never knew drip irrigation setup could be this easy. We're going through the setup, step-by-step. If I can do it, you can too! Click "SHOW MORE" for links & resources below!
HOSE SPLITTER: [ Ссылка ]
DIGITAL HOSE TIMER: [ Ссылка ]
FAUCET CONNECTION KIT: [ Ссылка ]
DISTRIBUTION TUBING: [ Ссылка ]
TAPE SWIVEL: [ Ссылка ]
DRIP TAPE: [ Ссылка ]
ROW END: [ Ссылка ]
HOLE PUNCH TOOL: [ Ссылка ]
BARBED VALVE: [ Ссылка ]
TEE FITTING: [ Ссылка ]
ELBOW FITTING: [ Ссылка ]
COUPLING FITTING: [ Ссылка ]
BROWN TUBING:
BROWN TUBING END PIECE:
BLOG POST: [ Ссылка ]
T-SHIRT: [ Ссылка ]
MY FAVORITE CHICKEN GEAR: [ Ссылка ]
MY VLOGGING CAMERAS + GEAR: [ Ссылка ]
MY FAVORITE GARDENING GEAR: [ Ссылка ]
GRUBTERRA: Save 10% on GrubTerra Chicken Treats with code "OAKABODE": [ Ссылка ]
0:00-0:58 - Intro
0:59-1:08 - Hose Bib
1:09-1:51 - Splitter
1:52-2:48 - Digital Timer
2:49-3:28 - Connection Kit
3:29-4:06 - Distribution Tubing
4:07-4:41 - Recap So Far
4:42-4:58 - Drip Tape
4:59-6:21 - Tape Swivel & Setup
6:22-7:15 - End Pieces
7:16 - Alternative Tubing
We're not experts, so we always recommend talking to the pros for the best advice. This post and comments below contain affiliate links, which may lead to a commission if purchased. This comes at no extra cost to you. Thanks!


![Nicki Minaj, Parker Ighile - Remember Me (Official Audio) [Unreleased]](http://i.ytimg.com/vi/csq-Rh3pCGU/mqdefault.jpg)


![Миссия "Красный" / Red One. Фильм 2024 [Дуэйн Джонсон] и [Крис Эванс] #кино #рекомендации #shorts](http://i.ytimg.com/vi/nI7XyyJjLEQ/mqdefault.jpg)