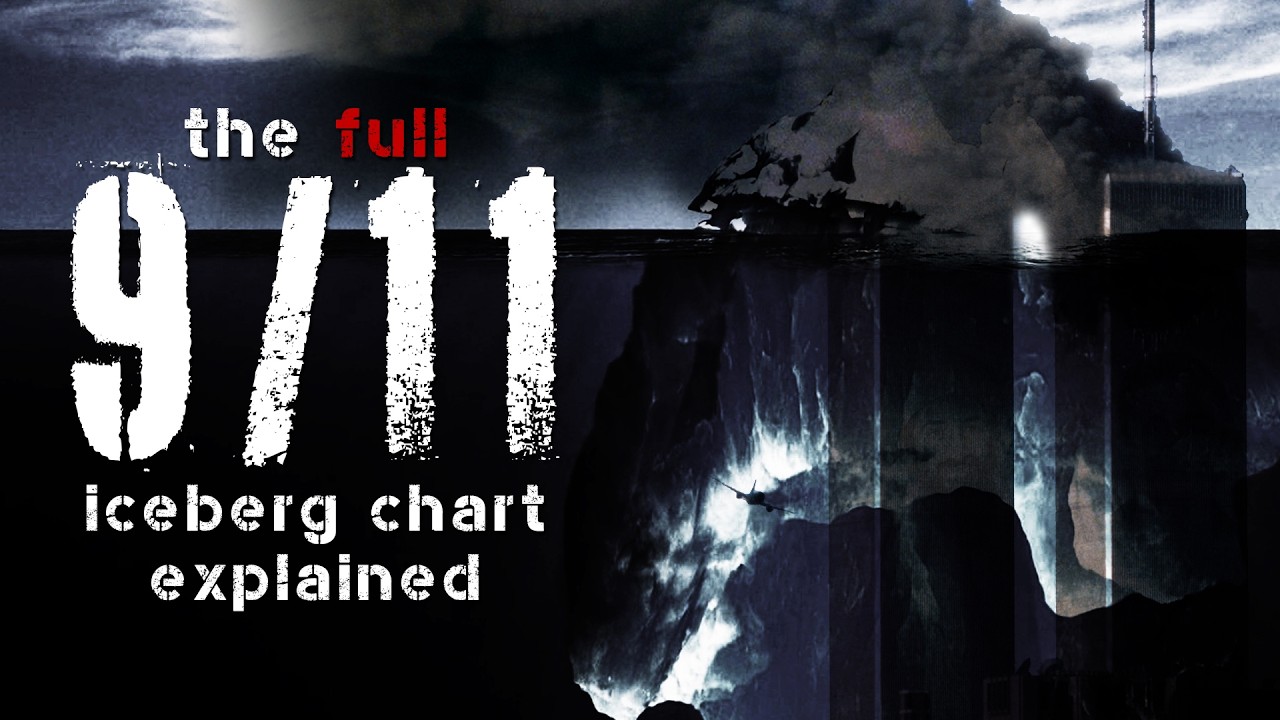
This is the full three hour 9/11 iceberg, uncensored with remixed audio, updated visuals, and more accurate information.
VHS version (for more immersion):
[ Ссылка ]
All Video Sources:
[ Ссылка ]
Text Sources:
[ Ссылка ]
the cartoon's finished ren. would you like to see it?
___________________________________
v4.0 patch notes:
-redone intro
-replaced music at 4:27 with Windows XP music that better fits the vibe
-corrected number of 2nd plane camera angles to 69
-re-stabilized and centered Chief Pfeifer looking at 1st plane
-removed arrow pointing at wrong member of the Bin Laden family
-caption added to jumpers section with new information
-Kevin Cosgrove phone transcript replaced w/ new accurate one
-added death date of Richard Pecorella, Karen Juday's fiance
-extended Daily Show clip showing Jon Stewart crying
-new clip of AE911Truth's "proof" of demolished towers
-added caption and remixed audio at 44:50
-added CNN newsroom clips from "America Remembers" at 54:22
-changed "weeks" to "years" at 1:40:26
-removed gore photo from Bin Laden raid photographs
-re-composited Abdussatar Shaikh against photo of his house
-replaced music in second half of Layer 5
-extended LOL SUPERMAN ending
-redone credits
Chapters:
INTRO: 00:00:00
LAYER 1 -
NORTH & SOUTH TOWERS: 00:01:38
FLIGHT 11 & FLIGHT 175: 00:04:42
FLIGHT 77: 00:06:49
FLIGHT 93: 00:08:25
SOUTH TOWER IMPACT FOOTAGE: 00:10:17
JULES & GEDEON NAUDET FOOTAGE: 00:11:28
OSAMA BIN LADEN: 00:13:35
KHALID SHEIK MOHAMMED: 00:16:19
JUMPERS: 00:19:36
WAR ON TERROR: 00:20:56
LAYER 2 -
THE FALLING MAN: 00:22:31
MAN IN THE RED BANDANA: 00:23:44
KEVIN COSGROVE & CALLS FROM THE TOWERS: 00:25:08
BRIAN CLARK & STANLEY PRAIMNATH: 00:27:23
GWYNETH PALTROW “SLIDING DOORS” MOMENT: 00:30:22
CELEBRITIES CHEATED DEATH: 00:31:17
STEVE BUSCEMI: 00:32:15
SALTY & ROSELLE: 00:33:56
PASQUALE BUZZELI: 00:35:00
THE MIRACLE SURVIVORS: 00:35:41
EDNA CINTRON OR KAREN JUDAY?: 00:36:50
ENTERTAINMENT IMPACT: 00:38:33
FEMA & NIST: 00:40:28
LAYER 3 -
CONTROLLED DEMOLITIONS: 00:42:05
BUILDING 7 COLLAPSE & TENANTS: 00:45:17
LARRY SILVERSTEIN & “PULL IT”: 00:48:00
BARRY JENNINGS: 00:50:39
EXPLOSION WITNESSES: 00:53:36
BUILDING 7 COLLAPSE REPORTED EARLY: 00:55:56
STEEL SOLD TO CHINA: 00:57:17
PENTAGON MISSILE: 00:59:22
HENRYK SIWIAK: 01:00:59
JERSEY GIRLS: 01:02:58
HANI HANJOUR: 01:05:45
ARCHITECTS & ENGINEERS FOR 9/11 TRUTH: 01:08:42
THE OPEN CHEMICAL PHYSICS JOURNAL & NANO-THERMITE: 01:11:15
LAYER 4 -
PAVEL HLAVA NORTH TOWER FOOTAGE: 01:14:18
SIBEL EDMONDS: 01:17:04
$2.3 TRILLION MISSING: 01:20:33
AHMED SHAH MASSOUD WARNINGS: 01:22:38
CGI PLANES*: 01:23:54
AIRLINE PUT OPTIONS: 01:29:28
HIJACKER PASSPORTS: 01:31:10
TWIN TOWERS II: 01:33:07
SHANKSVILLE BOMB & LACK OF PLANE PARTS: 01:36:43
PAKISTAN HIDING BIN LADEN 01:38:15
LAYER 5 -
LYNCH RADAR GAP: 01:41:45
UKRAINE WAR PROPAGANDA: 01:45:25
HURRICANE ERIN: 01:49:12
PRAGUE CONNECTION: 01:51:01
BENAZIR BHUTTO & BIN LADEN DEATH THEORIES: 01:53:13
OMAR AL-BAYOUMI: 01:57:09
FBI ROOMMATE: 01:59:52
CIA WITHHELD INFORMATION: 02:01:30
PTECH: 02:03:48
NORAD DRILLS: 02:05:48
PROJECT FOR A NEW AMERICAN CENTURY: 02:08:24
LAYER 6 -
ACE BAKER SUICIDE HOAX: 02:11:59
MYSTERY PLANE: 02:15:01
URBAN MOVING & MOSSAD (DANCING ISRAELIS): 02:17:00
WILLIAM COOPER PREDICTION: 02:21:18
SCOTT FORBES & POWER DOWNS: 02:26:43
CARLYLE GROUP: 02:29:28
DANIEL LEWIN: 02:32:05
WALEED AL-SHEHRI & OTHER HIJACKERS ALIVE: 02:34:20
PENTAGON OFFICIALS CANCEL FLIGHTS: 02:36:20
BIN LADEN DENIES ROLE IN 9/11: 02:37:11
LAYER 7 -
LOL SUPERMAN: 02:39:44
DIRECTED ENERGY WEAPONS: 02:44:08
JESUS IN NIGHT SKY: 02:47:28
PRE-9/11 EVACUATIONS: 02:48:14
ONE WTC ILLUMINATI & ISLAMIC SYMBOLISM: 02:48:59
DE-AGING BIN LADEN: 02:50:31
RED CROSS GHOST: 02:52:45
REINCARNATED VICTIMS AS CHILDREN: 02:54:11
9/11 RELIGIOUS PREDICTIONS: 02:56:40
THE LONE GUNMEN & OTHER TV SHOW PREDICTIONS: 02:58:20
OUTRO: 03:04:13


![[4K] Transparent Dress Top Try on Haul | Hauls With Sophie Louise](https://i.ytimg.com/vi/8NG3nKkAb9g/mqdefault.jpg)