Got questions? Be sure to comment below. We're happy to help you confidently sew with knit fabrics!
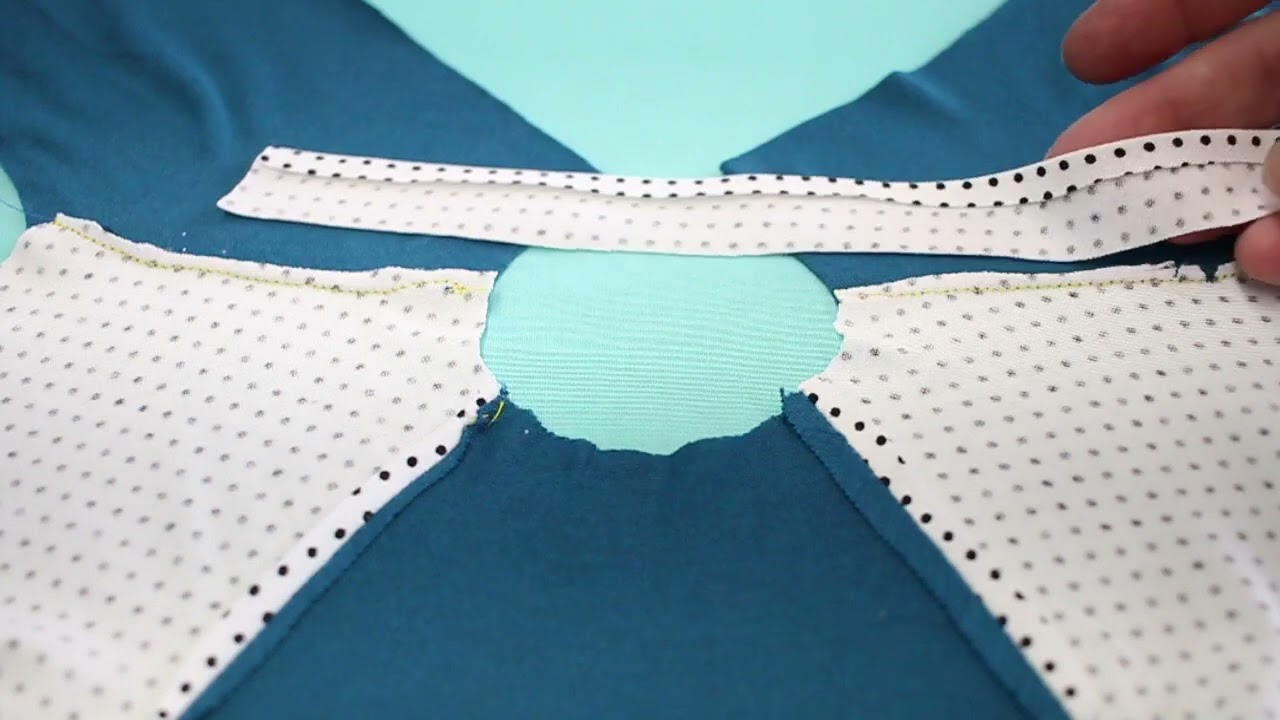
Sewing Neck Binding and Neck Bands - Whether you're looking for an alternative to a knit hem or you're just interested in a new type of finish, these are both great techniques to master! In the video I demonstrate both styles: a binding and a band. I also show you how to substitute a binding or band for an exisitng hemline. Many patterns are designed to use a band/binding (like the t-shirt variations, baseball tee, or v-neck tee) but some (like the free t-shirt) are designed with a hemline that can be finished in an alternate style for a new look! These techniques can be used not only on the neckline, but also on the sleeve hem or waist/hip hemline! Once you master this technique you will gain confidence in sewing with many types of knit fabrics!
A few tips to remember:
Always cut a binding or a band on the bias, even on a knit fabric. This will provide the greatest amount of stretch and result in a nice flat/tight circular shape for your binding/band
I prefer a finished width of 1/4" for both bindings and bands, so I cut them at 1" width. This allows to 1/4" seam allowances and the remaining 1/2" is folded in half resulting in a 1/4" finished width. If this it too small for you to work with, you can add to the width which will result in a wider band/binding (adding another 1/4" will result in a 3/8" finished width).
Adding fusible knit stay tape (has stretch) or fusible interfacing for knits to your shirt neckline before attaching the binding may help provide added stability to your fabric.
I've used the walking foot in the video, but you can use a standard presser foot when sewing bindings/bands.
Steam is your friend! It's pretty magical to watch how well pressing with steam works, don't skip this final step!