In this video, you will be taken through the simple process of painting your wooden windows. Painting a wooden window can give it a new lease of life, enhancing its aesthetic appeal while protecting it from weather damage.
In this step-by-step guide, we'll show you how to paint a wooden window like a professional, using the right techniques and materials.
Before you start painting, make sure you have all the necessary materials, including sandpaper, primer, paint, a brush, and a stirring stick.
You'll also need a few basic tools, such as a screwdriver and a scraper, to remove any old paint or caulk.
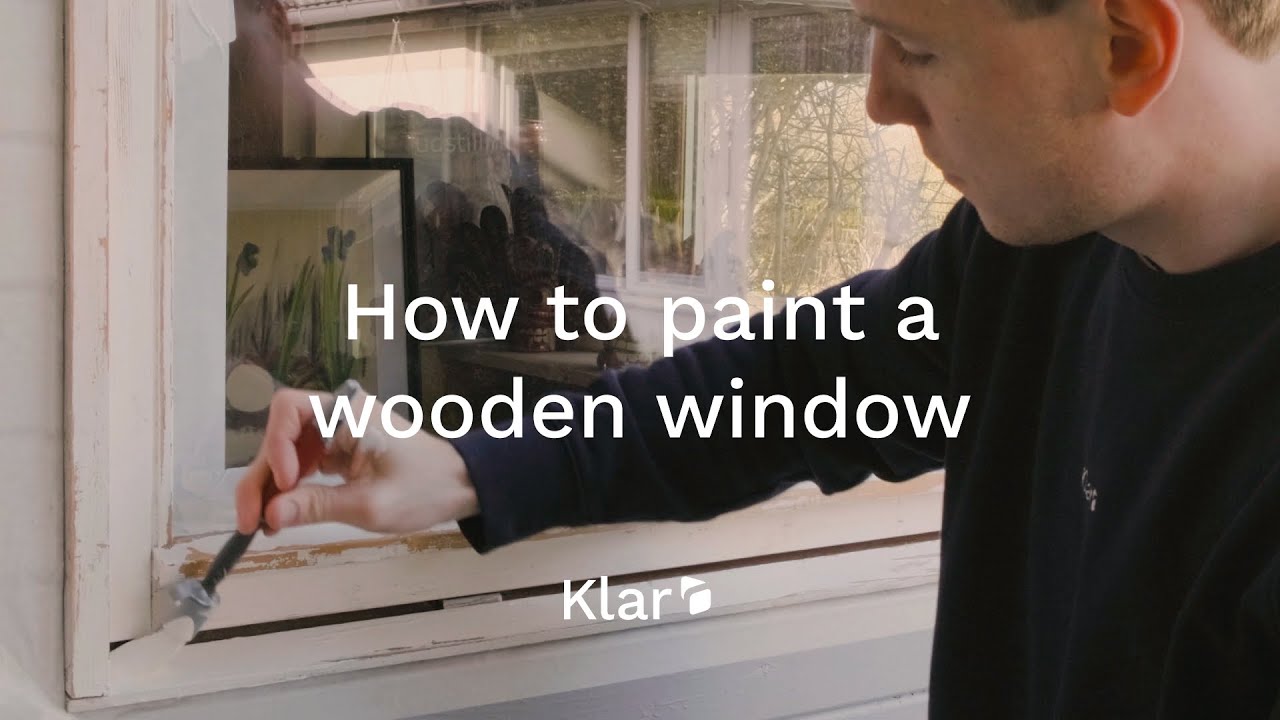
The first step is to prepare the surface of the window. Use a scraper to remove any loose dirt and flaking paint, and sand the surface with fine-grit sandpaper to create a smooth finish. Fill any dents or holes with wood filler, and sand again once dry.
Now you're ready to apply the primer. A good primer will help the paint adhere properly to the wood. Apply the primer with a paintbrush, working in the direction of the grain of the wood. Allow the primer to dry completely before moving on to the next step.
The final step is to apply the paint. Choose a high-quality paint that's suitable for exterior use, and stir it thoroughly before use. Apply the paint with a brush, following the grain of the wood, and keep a wet edge to avoid streaks. Use a small brush to paint any detailed or hard-to-reach areas.
Allow the paint to dry completely before applying a second coat and a third coat if necessary.
Once the paint is dry, your wooden window will look as good as new!
For more DIY home improvement tips and tricks, make sure to subscribe to our channel. Thanks for watching!
If you are looking for new wooden windows, you can easily order new ones on our website: klarhome.co.uk