Click for more info and reviews of this Inno Roof Box:
[ Ссылка ]
Check out some similar Roof Box options:
[ Ссылка ]
Search for other popular Toyota Prius v parts and accessories:
[ Ссылка ]
[ Ссылка ]
Don’t forget to subscribe!
[ Ссылка ]
Full transcript: [ Ссылка ]
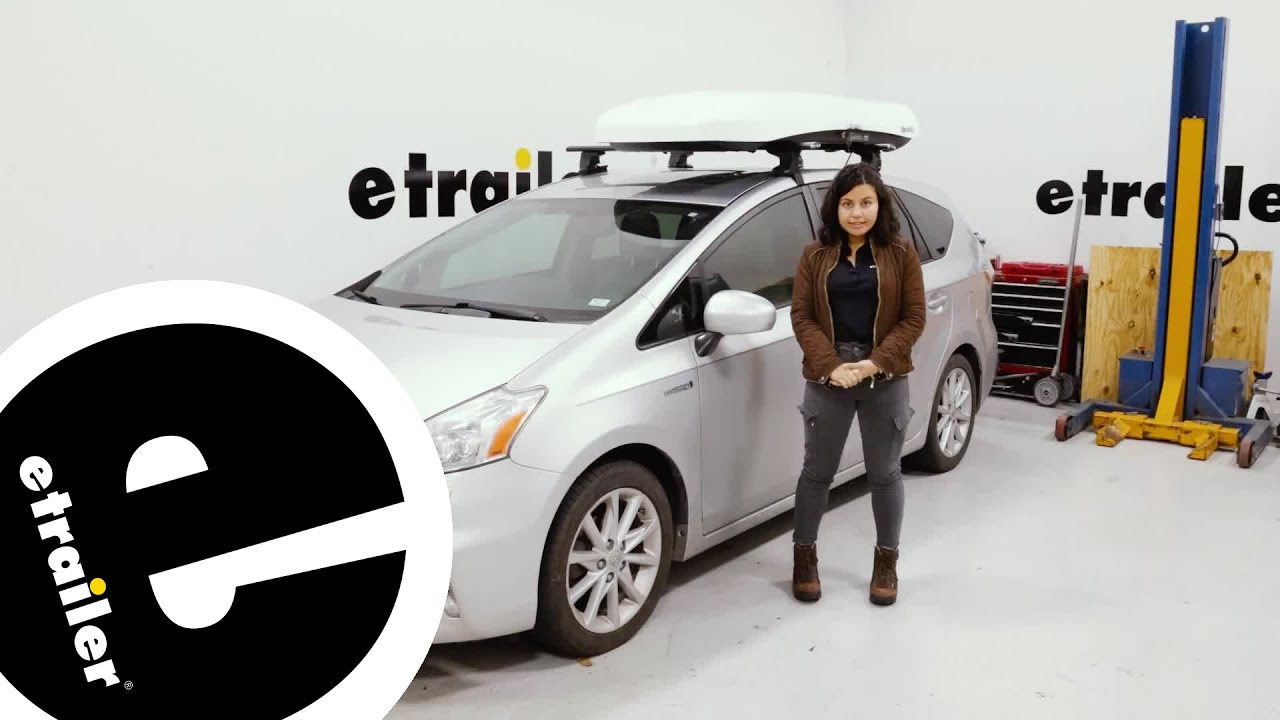
Hey everyone, it's Evangeline here at etrailer and today we'll also be taking a look at how the Inno Wedge 660 roof box fits on the 2014 Toyota Prius V. So this is a vehicle specific look at how this roof box fits on this car. We're gonna talk about some specs, some measurements as well as how much clearance there is for the roof. If you want a full depth review of this roof box, check out our demo here at etrailer.com. With this fitting on the Toyota Prius V, this is gonna be great for if you need to carry around your skis and your snowboards because as much cargo space as you have inside this car, maybe you also wanna carry around important things like your friends and your family. This allows you to do both.
There are some downsides though like how you are not able to carry around your taller items with this roof box. So we'll take a look at that real quick on our Prius V. Now you are required to have a certain amount of crossbar spread, which is a distance apart for your box but no matter which brand of a roof rack, it is gonna be within that because it's 24" to 39". We have it at 29" apart. So depending on your roof rack, you can put it on the middle or you can even put this box on the overhang for easier access.
This is very low profile. You have the nice memory mount clamps which not only make it easy to install the box but it doesn't take up much space underneath your crossbars. Even if you have the panoramic glass roof, this will still fit. The box is 80" long but even with that, you have plenty of clearance to open up your hatch. You don't even have to think too hard about it.
You can just put the box wherever you want or wherever it's easier to access. And that way your larger cargo or your larger bag can go back here into your hatch. The box width is 33" wide, so depending on your crossbars, you might even have some space for some other accessories. So from the side of the box to the end of our bars here, I have that 19". You can get more or can get less moving this box around.
You can even have it centered just for easy access on both sides. Remember though, if you are carrying something around like a bike rack and you have a bike mounted here, be mindful of how high the lid will open. It's a very sleek box. I mean, that's also because it has a high gloss shine on the box, but it is very low compared to some other boxes. Great, because then it's more aerodynamic. Driving around, I noticed maybe a one or two MPT change. And with that in mind though, while you can't carry around the taller items, you're also not having as much wind resistance or wind noise. This is made of ABS plastic, so it's only about 42 pounds and it is pretty easy to lift up and into your roof since your vehicle isn't that tall. Now, when using this, I do like it offset because it's easier to access on this side but to also make it easy, you have two keys and they're keyed alike, you just turn this to unlock position. You just press a button, it's now unlocked and ready to lift up. The straps keep everything secure. You get two straps. The lid stays open once you have it in the open position and I also use the Moki doorstep as to give myself a little extra height making it easier to load cargo into the box as well as to utilize the memory mount clamps The memory mount clamps use these levers to loosen as well as to tighten down the clamps. Once you set the tension the first time that's pretty much all you have to do. It's very fast to install this. So your box is gonna arrive with your clamps as well as your straps on the inside. So go ahead, get your keys, take those out and then you're gonna have that empty box. It's gonna be more bulky than heavy so it is still doable on one zone for loading it up. So to install your clamps, you're gonna need the box open. So again, use those keys that you found outside of the box and then we're gonna clamp it from above. So line up your box where you want them on your crossbars if you're loading them to the overhang or if you're centering them on your bars. Once you figured out your spot, then just grab your clamp and this fits from above over the bar. Adjust your tension with this wheel. You want just enough tension where you have a tight fit but it still secures. You only need to set your tension once. After that, installing and uninstalling is as quick as easy as flipping this lever b


![Kalifarniya- Qar [M/V]](https://s2.save4k.ru/pic/wkV_TOW6qEk/mqdefault.jpg)