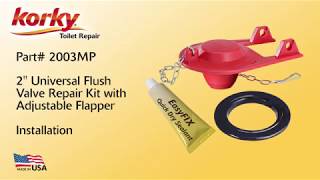
How to Repair Toilet Flapper and Flush Valve by Korky | Part number: 2003MP | [ Ссылка ]
Hello, and welcome to Korky toilet repair. Today we are going to install your Korky Universal Flush Valve Repair Kit. The first step is to shut off the water supply to the toilet. Next, flush your toilet. Mark the water level in your tank and drain the excess water. Remove the old flapper. Clean the drain seat with steel wool, sandpaper, or an abrasive pad. Wipe all debris and moisture from the surface of the drain seat. Set the new seat upside down on a safe flat surface. Squeeze the silicone sealant evenly around the bottom of the seat. Use about ¾ of the tube. Center the new seat over the old drain seat and press firmly into place. Make sure to avoid getting and sealant on top of the new drain seat. Wait 15 minutes for the sealant to set completely. Install the Korky ultra saver flapper. Attach the flapper ears to the tabs on the flush valve. Attach the flapper chain to the flush lever with minimal slack. Turn the water supply on and wait for the tank to fill completely. Turn off the water supply and flush. If the water line drops within a half inch of the pencil mark, your installation is finished. If not rotate to the open position and reinstall the flapper. Turn the water supply on and let the tank fill completely. Turn off the water supply and flush. If your water line is still not within a half inch of the pencil mark, adjust the dial so the next lowest number aligns with the arrow. Then reinstall your flapper. Turn the water supply on and let the tank refill completely. Turn off the water supply and flush. Repeat this process until the water is within a half inch of the pencil mark. Congratulations you have just installed your Korky Universal Flush Valve Repair Kit. Thank you for choosing Korky.


![Я здесь крыша! Я здесь все решаю! | MEOW - 19 серия [4K]](http://i.ytimg.com/vi/teM8FgTwjd4/mqdefault.jpg)


![Я здесь крыша! Я здесь все решаю! | MEOW - 19 серия [4K]](https://i.ytimg.com/vi/teM8FgTwjd4/mqdefault.jpg)