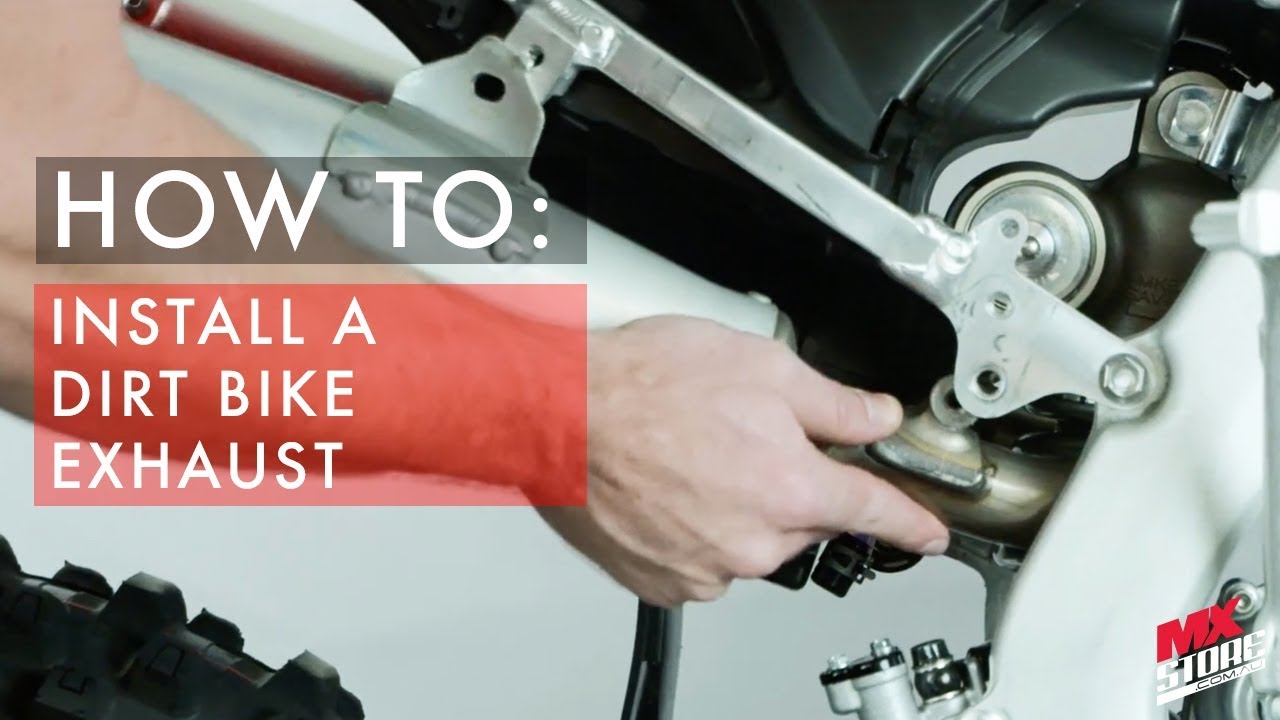
Installing an aftermarket exhaust on your 4 stroke machine is a lot simpler than most people think. We got our hands on an FMF Factory 4.1 Anodized Titanium Dual Exhaust System for our 2017 Honda CRF450R project bike, so we thought we'd run you through the steps involved. Check out the video and have a look through the step-by-step guide below.
Step 1: Get your tools ready - 8, 10, 12mm T-bar set for our Honda CRF450R 2017 model. Note that some bikes will vary, most KTM's and Husqvarna's will also need a 6mm
Step 2: Remove the side panels and airbox covers. With a dual exhaust system, you will need to remove both sides
Step 3: Remove mufflers - unscrew your 3 mount bolts on either side and slide them back from the header
Step 4: Remove header - unscrew your 2 mount bolts and remove
Step 5: Install new header loosely - put your 2 mount bolts on and tighten till snug, then loosen slightly so the header has a bit of movement in it to line up with the mufflers
Step 6: Install new mufflers loosely - slide the new mufflers onto the header pipe and line up your midway bolts. Chuck your mid pipe bolts back in and again tighten till snug and loosen slightly. Line up muffler bolts and do the same with those
Step 7: Ensure fitment through the mufflers and header, then tighten, starting from the front and working your way back. Tighten as much as you can with one hand, or consult your bike manual for torque specs
Step 8: Re-install the side panels and airbox covers
Step 9: Shred dirt
Explore our entire range of exhausts here: [ Ссылка ]


![Mike Tyson - 1999 Boxing Training And Knockouts [HD]](https://s2.save4k.ru/pic/00V8FzXWR5E/mqdefault.jpg)