Protect all of your data with an extra layer of security 🔒🔒🔒
Get the best NordVPN deal now: [ Ссылка ]
***
🔔 Subscribe to get the latest content: [ Ссылка ]
***
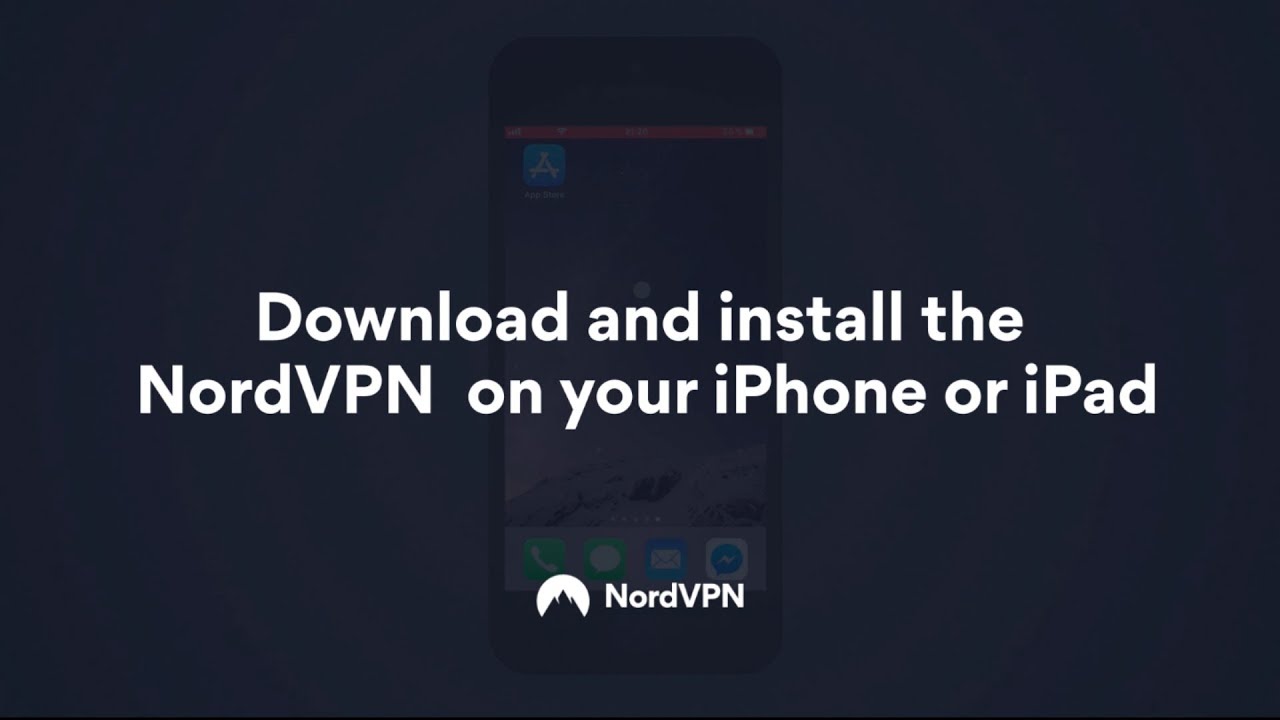
Download and install the NordVPN application on your iPhone or iPad.
- Tap on the App Store.
- Enter NordVPN in the search bar and select the NordVPN app. Tap Install.
- When the application is installed, tap to open it.
- You will see the main menu of the app. Tap on the profile icon in the top-left corner of your screen.
- In the account management menu, select Create Account if you want to create one, or tap on Sign In and log in with your NordVPN credentials.
- You can now connect to a server with the Quick Connect button. Using a complex formula that includes various server parameters, Quick Connect chooses the best server for you at any given moment.
- When trying to connect to a VPN server, you may be greeted with a few explanatory and warning messages. They are default warning messages for VPN connections.
- Once you read through the explanatory messages, click the green Got it button to proceed and allow the application to add a VPN configuration. That will require you to confirm your identity using the device password, touch or face ID, depending on what you have configured.
- Alternatively, you can also tap on any of the country pins. Then, connect to a server from that country by tapping the Quick Connect button or choosing the Pick a Server option and selecting a specific server to connect to.
- Once connected, you will see a green bar pop-up in the application indicating a successful connection.
- If you wish to disconnect, just click on the Quick Connect button again and you will be disconnected.
Get your NordVPN deal here: [ Ссылка ]
#HowToNordVPN #HowtoSetupNordVPN #NordVPNforIphone