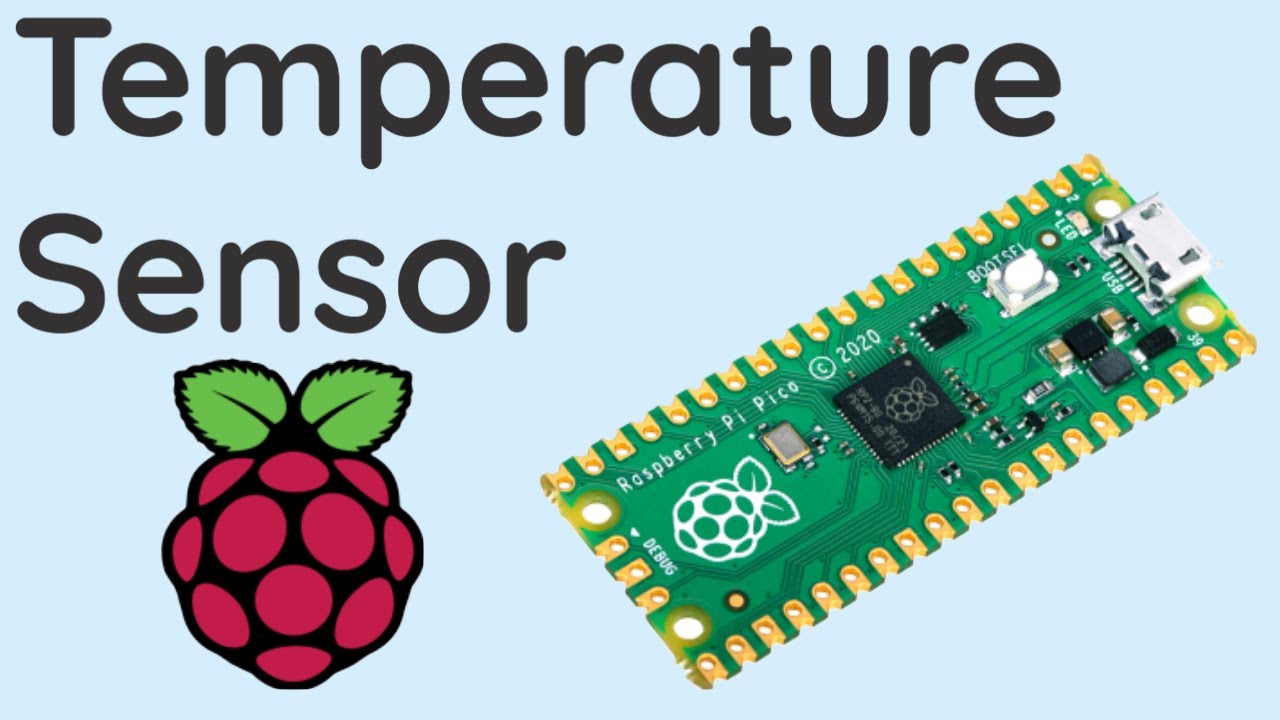
This video covers how to use the on-board temperature sensor in the RP2040 chip on the Raspberry pi Pico. We use a Visual Studio Code project to program the brand-new Raspberry Pi Pico microcontroller board. We created a program which uses the analogue to digital converter (ADC) in the Pico to read the internal temperature of the RP2040 and does the necessary data conversion to output the temperature of the chip to a windows machine over a USB serial interface.
This video provides a brief overview of how the temperature sensor operates. Then we set up the analogue to digital converter (ADC) to read the onboard temperature of the RP2040 chip. It also covers how to perform the required data processing to take the raw ADC output and convert it into a voltage then again into temperature. We also discuss the inaccuracies and problems you may face when using the RP2040’s on-board temperature sensor.
The source code for this project (and a written article version) is available here: [ Ссылка ]
Timestamps
00:00 - Introduction
00:15 - How the Temperature Sensor works
00:55 - What are we making?
01:20 - Programming
04:55 - Conclusion
If this video helped you, please consider leaving a like and subscribing, thank you!
To see my other videos on the Raspberry Pi Pico, check out the playlist here: [ Ссылка ]
You can find more embedded systems tutorials and projects on my website [ Ссылка ]
-- Equipment I use regularly --
The following links are affiliate links where I may make a small percentage on qualifying sales through these links. Use the respective UK or US links listed.
Budget Soldering Iron: UK: [ Ссылка ] US: [ Ссылка ]
Breadboards: UK: [ Ссылка ] US: [ Ссылка ]
Jumper Cables: UK: [ Ссылка ] US: [ Ссылка ]
Camera: UK: [ Ссылка ] US: [ Ссылка ]
Lens: UK: [ Ссылка ] US: [ Ссылка ]
Tripod: UK: [ Ссылка ] US: [ Ссылка ]
All videos and tutorials on this channel and mentioned websites are for educational purposes only.


![Как подбирать аккорды на слух [Гармонический слух] - Тоника, Доминанта, Субдоминанта](https://s2.save4k.ru/pic/zZgFIjMYkfk/mqdefault.jpg)