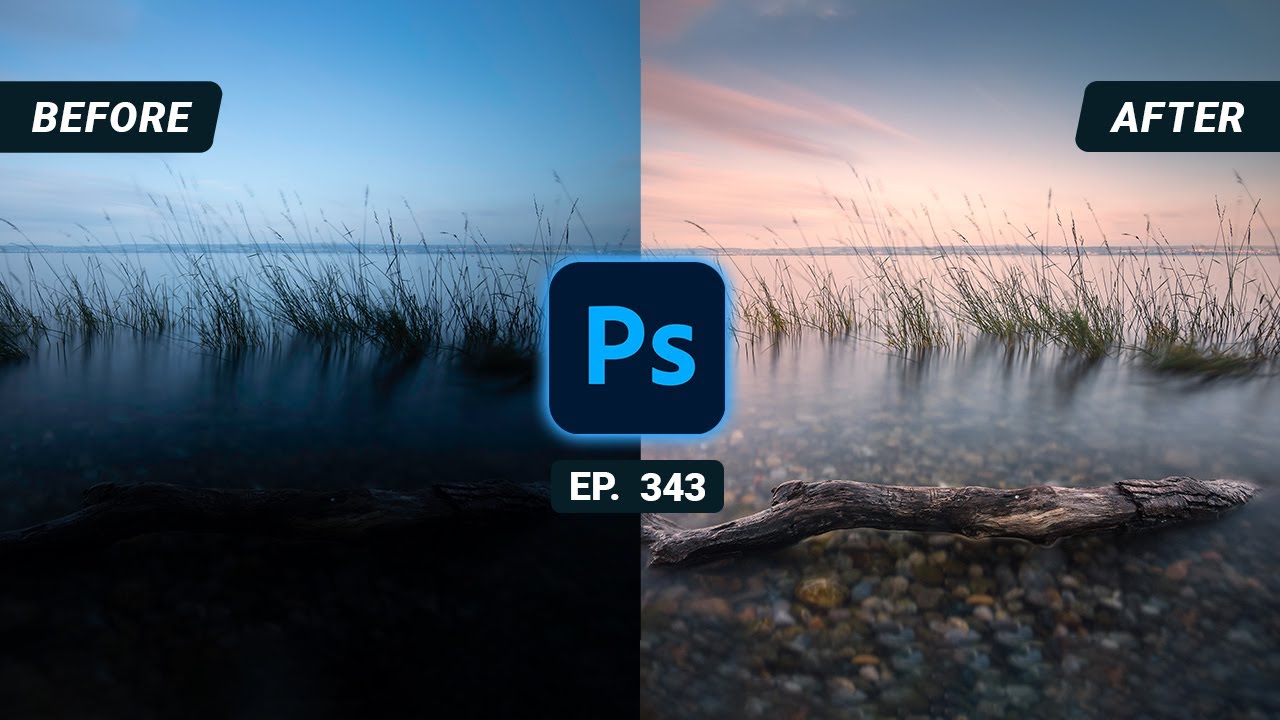
In this quickeidt video I‘m restoring beautiful pastel tones from a long exposure landscape photo using #Adobe #Photoshop for the post processing.
▬▬▬▬▬▬▬▬▬▬▬▬▬▬▬▬▬
Thank you for watching my video!
► Prints: [ Ссылка ]
► Patreon: [ Ссылка ]
► Instagram: [ Ссылка ]
► Facebook: [ Ссылка ]
▬▬▬▬▬▬▬▬▬▬▬▬▬▬▬▬▬
0:00 Intro
My goal for this photo was to get a very bright, calm picture with soft pastel colors. Thanks to the dynamic range of my camera (this was shot on a Sony A7III) I got all the details I needed in a single exposure. Most of the post processing was done in the camera raw editor, while I did some dodging and some more color adjustments in Photoshop itself with the use of the TK panel plug in and the Nik collection plug in.
0:23 1. Basic Raw Adjustments
First, I switched the camera profile to Adobe Landscape. Then, I adjusted the white balance to get rid of the strong blue color cast which was caused by the ND filter I used. To restore detail, I raised the exposure. This leads to overexposure in bright areas, so to prevent that the highlights were dropped. Also, I increased the shadows and the blacks. This makes the photo brighter, lessens the contrast and thus adds a nice, soft look which fits nicely with the pastel colors. Finally, I dropped the clarity a bit, added some texture and also a little bit of vibrance.
2:25 2. Local Adjustments
I added a graduated filter for the sky I very carefully dropped the exposure and added clarity. Then, I added a graduated filter for the foreground and increased the highlights, the whites and added more texture to give the tree branch more sharpness.
3:34 3. Color Grading
With the tone curve I added red and yellow tones to the image (pushing the point for the highlights to the left in the red channel and pulling the point down in the blue channel). Then, for the split toning I added a cold blue tone to the shadows and the mid-tones.
5:46 4. Photoshop
Using the TK panel plug in I created a luminosity mask for the mid-tones and then made them slightly brighter using a white brush on an overlay layer. To further improve the colors I used the Nik collection plug in and applied the polarization, the brilliance / warmth and the skylight filter.