UV printing on acrylic wedding cards with acrylic sheet printing machine is a popular choice for creating elegant and visually appealing invitations. The process involves using a specialized UV printer and acrylic sheet printing machine. Here's a step-by-step guide on how UV printing on acrylic cards can be done:
Acrylic Sheet Selection: Choose a high-quality acrylic sheet that is suitable for UV printing. Ensure that the sheet is clean, clear, and free from any scratches or imperfections.
Design and Artwork: Create or obtain the desired design and artwork for your wedding card. It could include text, images, graphics, or any other elements that you wish to include. Ensure that the design is compatible with UV printing.
Prepare the UV Printer: Set up and prepare the UV printer according to the manufacturer's instructions. This typically involves installing the appropriate UV ink cartridges and ensuring that the printer is properly calibrated.
Print Setup: Import the design file into the UV printer's software. Adjust the print settings such as print size, position, and resolution as per your requirements.
Print Test: Before printing on the actual acrylic sheet, it is advisable to perform a test print on a similar material to ensure that the colors, alignment, and overall quality meet your expectations.
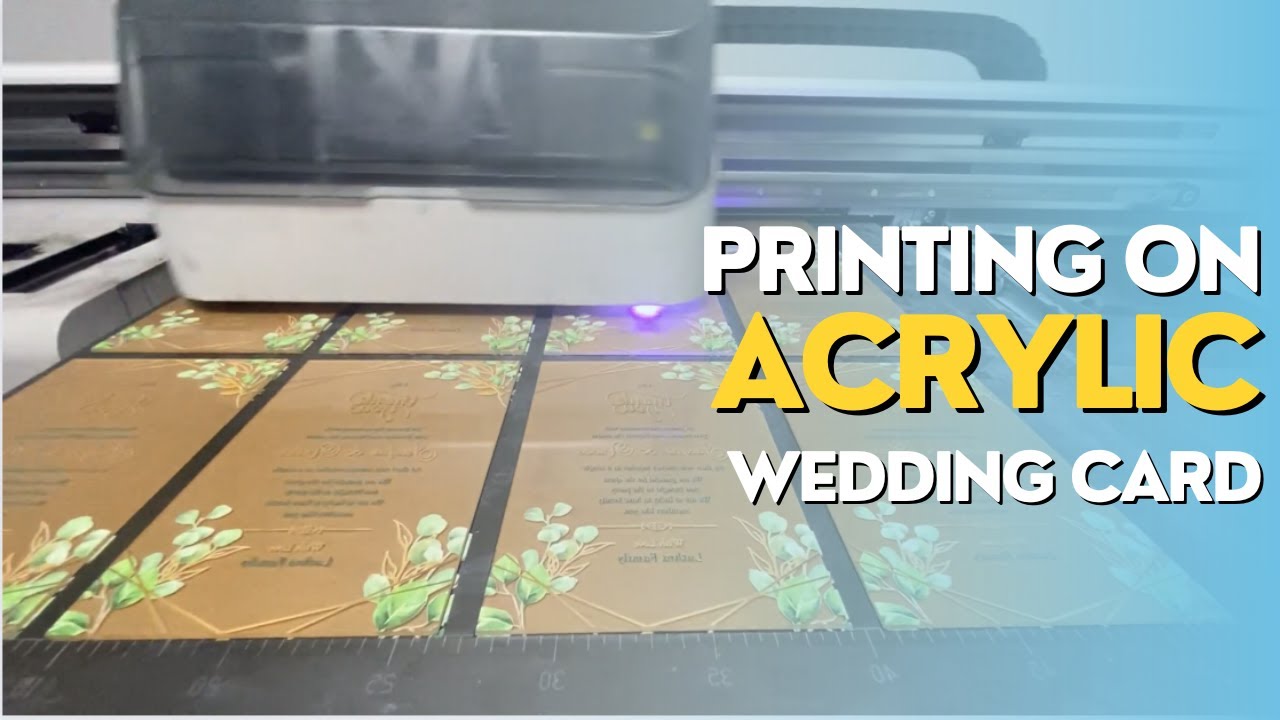
Secure the Acrylic Sheet: Place the acrylic sheet onto the printer's flatbed or secure it using clamps or a suitable fixture to prevent any movement during the printing process.
UV Printing: Start the UV printing process, allowing the printer to apply the UV ink onto the acrylic sheet according to the design specifications. The UV printer uses UV light to cure and dry the ink almost instantly, resulting in vibrant colors and a durable print.
Post-Printing Finishing: Once the printing is complete, carefully remove the acrylic sheet from the printer. Clean any excess ink or residue from the sheet, ensuring a clean and polished appearance.
Cutting and Shaping: Use appropriate tools or techniques to cut the acrylic sheet into the desired shape and size for your wedding card. This may involve using a laser cutter, a CNC machine, or manual cutting tools.
Assembly and Presentation: After cutting the acrylic sheet, you can proceed with assembling the card. This may include attaching additional layers, embellishments, ribbons, or other decorative elements to create a finished wedding invitation.
It's worth noting that UV printing on acrylic requires specialized equipment and expertise. If you don't have access to a UV printer or the necessary skills, it may be more practical to outsource the printing to a professional printing service that specializes in UV printing on acrylic materials.
For Sales Support - +91-88721-88721
[ Ссылка ]
[ Ссылка ]
[ Ссылка ]
[ Ссылка ]
[ Ссылка ]
[ Ссылка ]
[ Ссылка ]