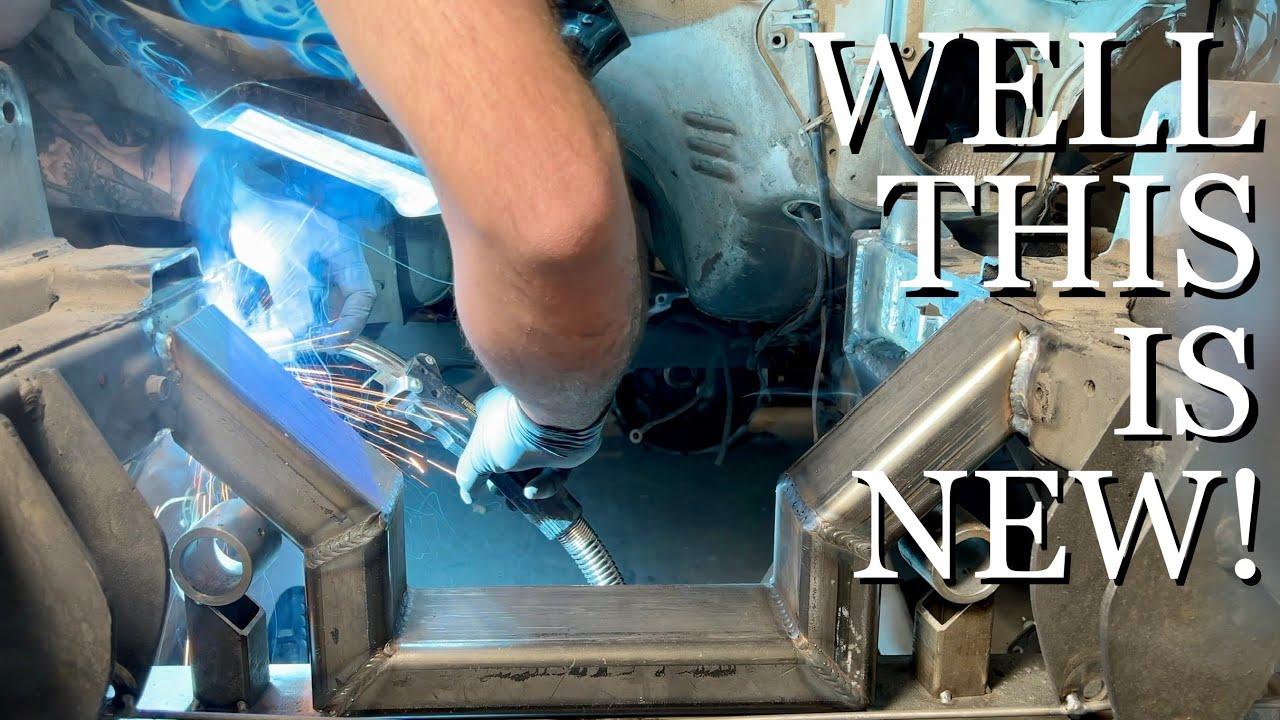
After the 2 inch front frame Z, the motor needs be dropped back down, but not before removing and replacing the engine crossmember.
This episode showcases an interesting method of retaining the factory Mighty Max suspension geometry by building a jig that holds the lower control arm bushings in place, even after the factory crossmember is removed.
As an Amazon Associate, I earn from qualifying purchases.
The Tools Featured in This Video:
Empire Abrasives
[ Ссылка ]
Get 10% Off! Use Promo Code GarageFab
Harbor Freight Grinder
Corded 4-1/2 in. 5 Amp Angle Grinder
Welder ESAB Fabricator
[ Ссылка ]
Vise Wilton
[ Ссылка ]
The Video Production Equipment I Use:
The Video Production Equipment I Use:
Cameras:
Sony A7iii Mirrorless Camera
[ Ссылка ]
Lumix G7 Mirrorless Camera
[ Ссылка ]
Audio Equipment:
Rode Wireless Go Lav
[ Ссылка ]
Giant Squid Lav
[ Ссылка ]
Sound Recorder Zoom H4n Pro
[ Ссылка ]
Tripod Manfrotto
[ Ссылка ]
Tripod Head
[ Ссылка ]
Neewer Camera Slider
[ Ссылка ]
Teleprompter
[ Ссылка ]
Lighting:
Flashpoint Ring Light
[ Ссылка ]
Phottix Nuada R3
[ Ссылка ]
Custom Front Crossmember for the Mighty Max Ep. 18
Теги
4 linkparallel 4-linkair suspensionpanhard barsuspensionsuspension designsuspension geometryair bagairbagairbaggedair baggedair bagsairbagsbagged4linkslammedhow toair suspension bookair suspension design bookautomotive suspensioncustom carscustom truckskustomswatts linkwats linkgarage fablink barscontrol armsmake it kustomtriangulated 4linkmini truckdifferential coverhow to build a watts linkCustom Crossmember