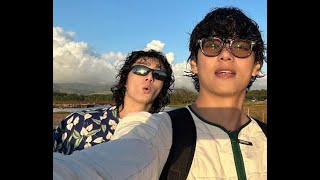
In this video I share with you how I edit a golden hour portrait from beginning to end. My process always begins in Lightroom, doing mainly colour and tonal adjustments. After that I'll export the image into Photoshop to begin my frequency separation skin retouch process.
This photo was taken on the Canon 5D Mkiii, and the Sigma 35mm 1.4 lens
I hope you find this video useful, please enjoy!
Model: [ Ссылка ]
Website: [ Ссылка ]
Instagram: [ Ссылка ]
Good Shot Mate: [ Ссылка ]...
Editing a golden hour portrait from beginning to end
Теги
portrait editlightroom portrait editgolden hour portraitgolden hour edithow to edit golden hourportrait lightroom editbefore and after editbefore and after lightroombefore and after portraitstart to finish portraitportrait beginning to endportrait start to finishhow to edit a portrait from start to finishhow to edit a portrait from beginning to endfrequency separationskin retouchinglightroom editing tutorialgolden hour editing tutorial


![[Back from the Brink] EP01 | Dragon Boy Falls in Love with Taoist Girl | Neo Hou / Zhou Ye | YOUKU](http://i.ytimg.com/vi/I5TQ4z_jDUs/mqdefault.jpg)