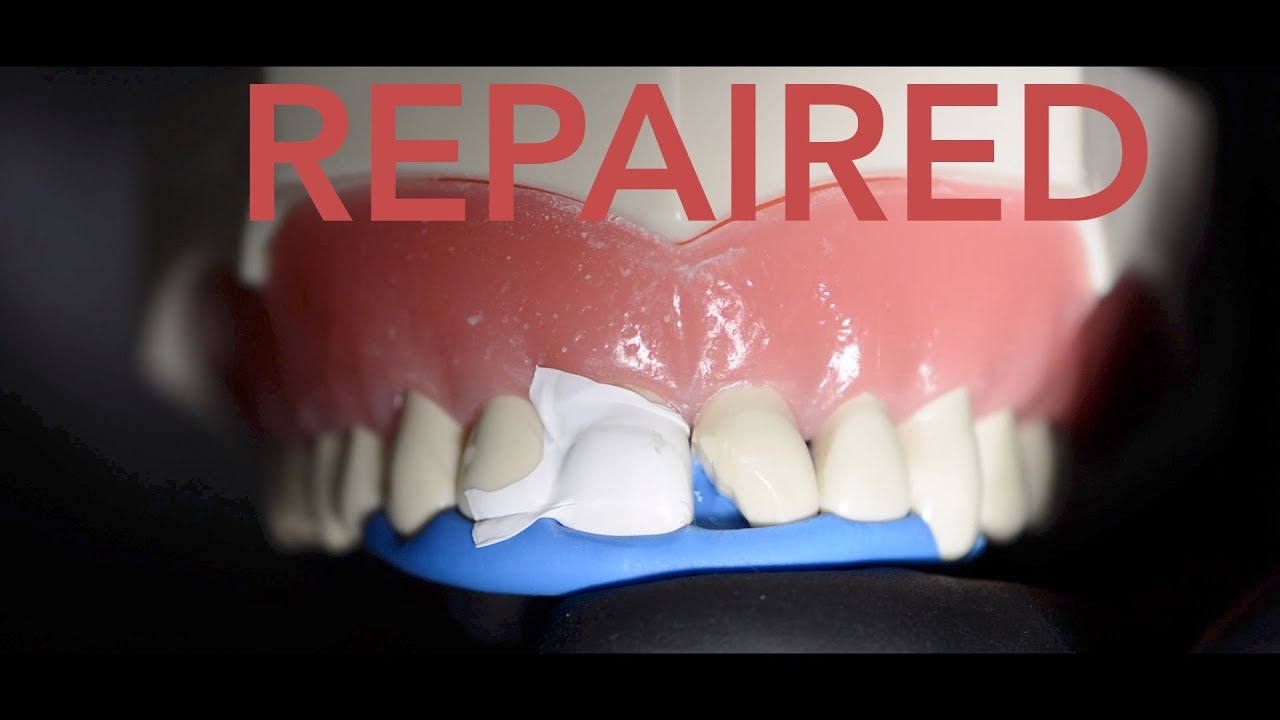
The video above illustrates how to repair a fractured anterior (front) tooth with a dental filling material. Initially, the dentist needs to be able to remove any unsupported enamel & incorporate a bevel which will help camouflage the dental filling material. This incorporates minimal preparation & will allow for a better bonding mechanism. After, a teflon tape is placed on the adjacent tooth to prevent any of our etching/bonding solution from attaching to the adjacent tooth. After washing & drying the etchant, the dentist will brush a bonding material over the prepared site & light cure. If a wax-up was made prior to the procedure, we are able to make a stent that can help build the lingual wall of the tooth. This helps the dentist achieve a predictable means of designing a filling that harmonizes with the adjacent teeth. Composite is then added & cured in incremental steps to avoid resin shrinkage. Final polishing can be achieved with a series of polishing discs.
I hope this video helps patients visualize the procedure & gives dentists some tips on how to achieve a more predictable filling. The dental filling was done on a typodont (fake teeth); therefore, the composite filling stands out. In a patient case, we would utilize various composite to blend the filling with the natural teeth.
[ Ссылка ]
MUSIC: UKIYO - CALLING
How the dentist repairs a chipped tooth
Теги
fracturetooth broken repairtooth fracture repairrepairing broken toothrepairing fractured toothdental filling repairrepairing broken front toothdental repairdental filling to repair broken toothchipped toothchipped tooth repairtooth repaircracked toothcracked tooth repairbroken toothbroken tooth repairclass iv filling