Full blog post with text instructions: [ Ссылка ]
I feel passionate about sharing my joy for drawing with anyone that wants to learn so I have designed these tutorials to be very beginner-friendly. I started drawing at a later age so I know it is a learnable skill. Plus learning how to draw flowers is great for journals and small gifts, people just love it when you give them a card with a hand-drawn floral arrangement on it. There is just something irreplaceable to a handmade item that looks beautiful.
I have created a 20 page Printable Workbook (PDF) that will teach you how to draw different floral arrangements. I wanted to create something that could really speed up someone's learning and actually get them drawing. I poured tons of time into it to make it as useful as possible to someone who wants to capture the elegance and beauty of flowers, I would looove it if you grabbed your copy and drew with me some more! Get it here: [ Ссылка ]
Check out more simple step by step flower drawing instructions here: [ Ссылка ]
I also have a printable workbook for Floral Arrangements that is available through the shop but do some of the free tutorials first :D
Thank you for letting me share my love for drawing with you ♡
°✧ Text Instructions ✧°
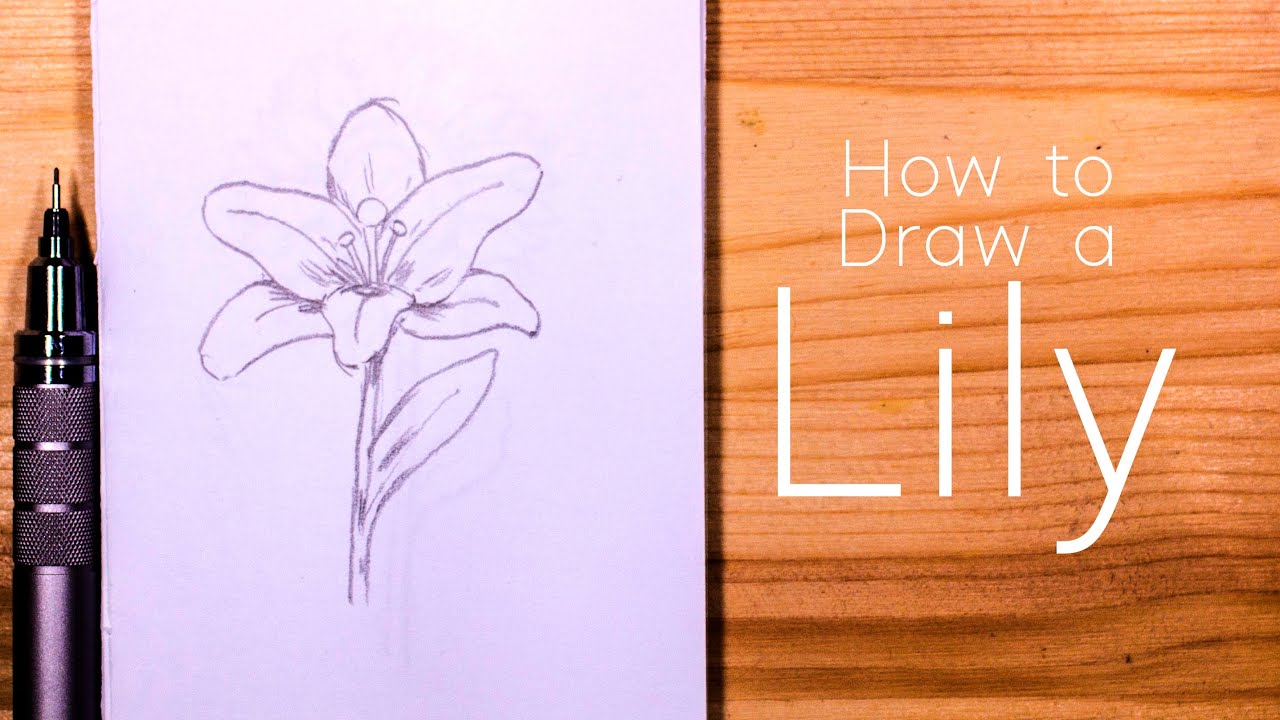
How to Draw a Lily
Step 1. Base Circle
Draw a small circle that is very squished and also tiny, make sure to leave room both above and below this circle because it will be the base of the flower.
Step 2. Top Sphere
Slightly above the base circle draw a sphere/ball.
Step 3. Stem
Connect the base and the sphere with a stem by drawing two vertical lines that are thinner than the ball (the stem is not as wide as the ball).
Step 4. Side Nodes
Now lets add two small nodes to each side, draw one node slightly higher than the other to give it a natural feel.
Step 5. Node Stems
Add stems to the nodes keeping them thin, just like the first stem.
Step 6. Right Curve
Starting from the base we draw a curving line that goes slightly up and towards the right. This marks the centerline for what will later become a petal (check the diagram on the left).
Step 7. Left Curve
Now we do the same thing to the left side but try to make the two curved lines similar in length but not exactly the same in shape. You can see how my right curve comes slightly higher than my left, these small difference help sell the natural feel of a flower.
Unfortunately, I can't fit the full instructions in the description so click here to see the full post: [ Ссылка ]


![[Супер Крылья сезон 3 Сборник] Эпизод 16 ~ 18 | СуперКрылья TV | СуперКрылья Джетт и его друзья](http://i.ytimg.com/vi/kDt24km4EQ4/mqdefault.jpg)