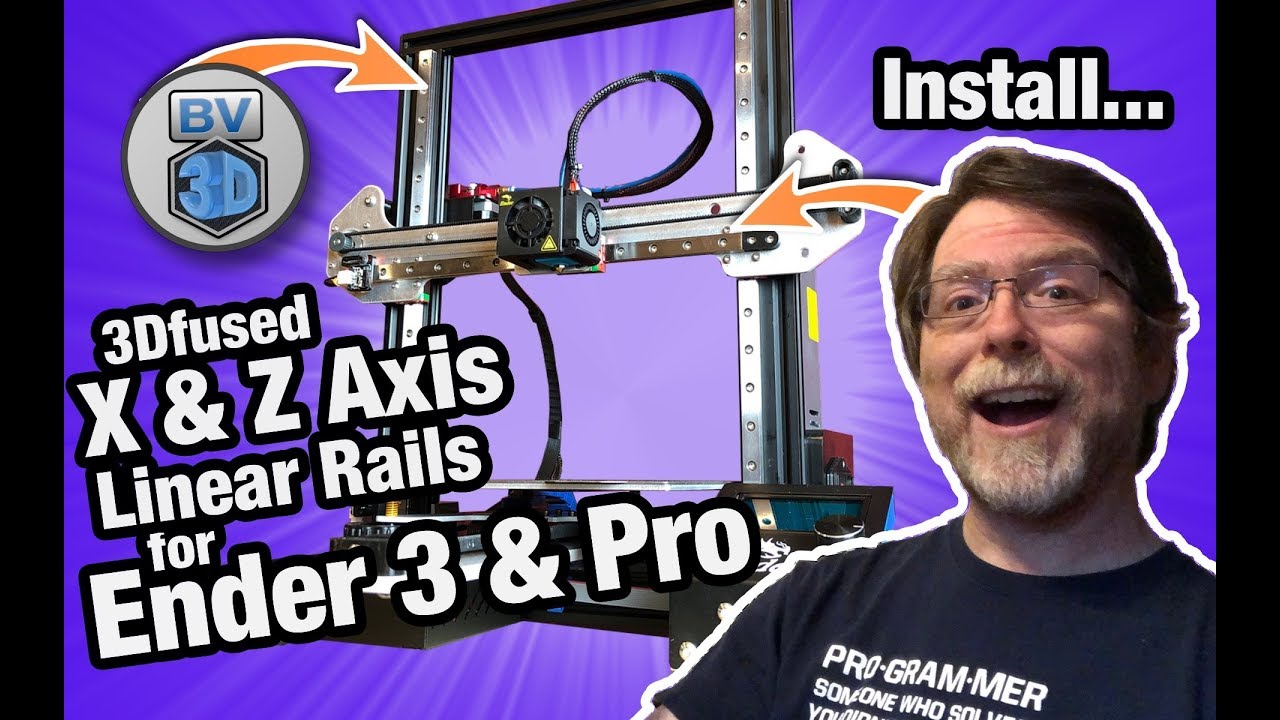
Hello 3D Printing Friends! Today we'll install the 3Dfused X and Z Axis Linear Rail Kit for the Ender 3 and Ender 3 Pro 3D printers. Along with the previously-installed Y Axis Linear Rail Kit, we’ll now have linear rails on 100% of our axes!
LINKS:
3Dfused - Ender 3/Ender 3 Pro X & Z Axis Linear Rail Kit
[ Ссылка ]
3Dfused - Ender 3/Ender 3 Pro Y Axis Linear Rail Kit
[ Ссылка ]
X Gantry Alignment Tool
[ Ссылка ]
Did this video help you out, save you a bunch of time, or help you learn something new?
If so, please consider becoming a channel member, or buying me a coffee, or leaving a tip! Your support really helps, and is VERY MUCH APPRECIATED!
✅ BV3D Channel Membership: [ Ссылка ]
☕️ Buy Me a Coffee: [ Ссылка ]
👍🏻 PayPal tip jar: [ Ссылка ]
*️⃣ The BV3D Channel Storefront on Amazon:
• [ Ссылка ]
*️⃣ Popular 3D printer affiliate links:
• BIQU: [ Ссылка ]
• Creality: [ Ссылка ]
• Comgrow: [ Ссылка ] [Check out the Creality REFURBS!]
• Elegoo: [ Ссылка ]
• FLSun: [ Ссылка ]
• Pergear: [ Ссылка ]
• Sovol: [ Ссылка ]
• Sunlu: [ Ссылка ]
• Voxelab: [ Ссылка ]
*️⃣ In the market for a magnetic flexible build system for your 3D printer?
💥Wham Bam Systems flex plates: [ Ссылка ]
As a Wham Bam Systems Associate I earn from qualifying purchases.
*️⃣ Shop for just about anything:
🛒🇺🇲US: [ Ссылка ] [affiliate link]
🛒🇨🇦Canada: [ Ссылка ] [affiliate link]
As an Amazon Associate I earn from qualifying purchases.
SOCIAL MEDIA
Follow me on Twitter (@bryan_vines): [ Ссылка ]
Disclosure:
I sometimes receive compensation such as discounted or free products, and when applicable, this is disclosed in videos and their descriptions. Whether free, discounted, or paid full price, any reviewed product is tested to the best of my ability, and I give my honest impression. All opinions expressed are my own.
#Ender3
#3Dfused
#LinearRails
CHAPTERS:
00:00 Introduction
01:38 Installation Overview
02:36 Alignment Tool to Print
03:13 Start Installation - Unload filament
03:32 Remove Hotend from X Carriage
04:02 Unplug Cables from X Axis
04:20 Remove Top Crossbar and X Gantry
04:43 Transfer X Axis Parts to 3DFused X Gantry
06:05 Transfer X Motor & Limit Switch
06:58 Install Z Axis Rails
08:47 Install 3DFused Z Endstop Mount
09:39 Install 3DFused X Gantry
12:12 Reinstall Tool Head
12:32 Finishing Up
13:45 Final Thoughts
Correction:
00:05 NOTE - This video is nearly five years old, and shows the installation process for a linear rail kit. There are problems at 3Dfused, the company producing the kit, resulting in unfulfilled orders and in some cases, no refunds. All products on their online store are out of stock. Customers who placed orders, paid their money, and received nothing may have no other recourse but small claims court.