Today's video shares tips on how to tile a shower wall, specifically the plumbing wall of a subway tile shower. We show how to start the first row of tile, what tools make this easier, and why we do what we do.
For more home improvement tips visit [ Ссылка ]
Helpful links:
Tile leveling seam clips - [ Ссылка ]
Horseshoe tile spacers - [ Ссылка ]
Laser Level - [ Ссылка ]
1/4" x 1/4" trowel - [ Ссылка ]
Fein grinder/cutter - [ Ссылка ]
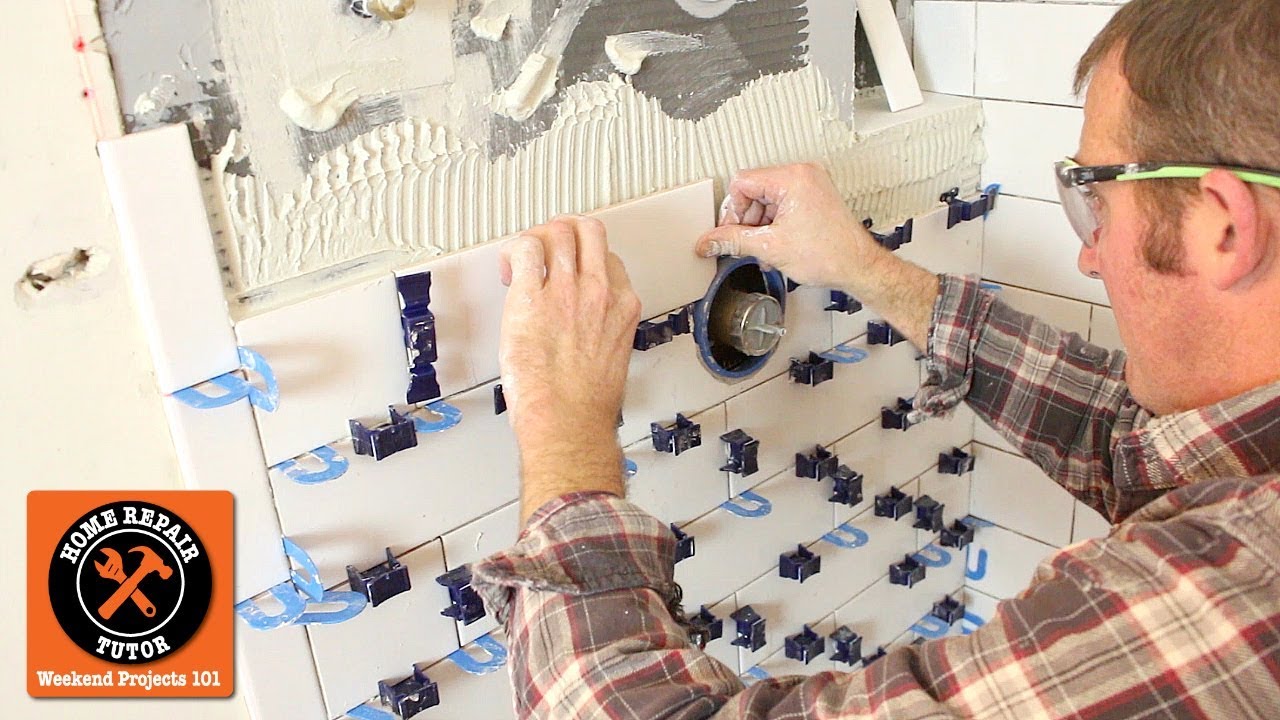
We started the first row of subway tile by finding the center of the wall and positioning our laser level roughly 4 inches above the shower pan.
Then we copied the subway tile patter that was on the opposite wall. This establishes symmetry in the shower. For example, the first tile we set was a full tile positioned just to the right of the center mark.
Always leave a gap between the first row of tile and shower pan tile for expansion and contraction. Same principle holds true for any change of plane, e.g. at vertical walls and shower curbs.
As we worked our way up the wall we staggered all the subway tile. The biggest challenge for some people is how cut notches in the tiles for curbs or mixing valves. Our video shows how we do that with Montolit's CGX115 diamond blade
[ Ссылка ]