DG’s Practical Notes
© 2021-2024 Daniele Giacomini, appunti2@gmail.com
[ Ссылка ]
[ Ссылка ]
[ Ссылка ]
[ Ссылка ]
This work is licensed under a Creative Commons Attribution-ShareAlike 4.0 International license and is published with NO GUARANTEE AT ALL, OF ANY KIND.
======== Content of this video ========
(0:00:00) Front cover
(0:00:10) ⚠ Warning
(0:00:20) Table of contents
(0:00:40) Introduction
(0:02:43) Metallurgy
(0:04:28) A variable-capacitor nightmare: DON’T DO THIS
(0:09:11) Removing and reinstalling the FM tuner
(0:12:05) Alternative plan: adding a variable capacitor for the AM bands
(0:14:14) Installing the additional variable capacitor
(0:19:26) Initial test of the final amplifier
(0:19:58) Usual electrical restoration
(0:22:41) Unpolarized capacitor C62, 20 µF
(0:23:28) Tone controls inspection
(0:24:56) Alignment
(0:28:24) Alignment revision
(0:32:51) Discriminator: original alignment procedure explained
(0:33:25) Removing the loudspeakers from the cabinet
(0:34:26) Grill cloth and loudspeaker panel
(0:38:57) Cabinet
(0:43:25) Decoration cleaning
(0:46:42) Putting the decoration back on the cabinet
(0:53:07) Loudspeakers
(0:56:15) Power switch
(0:57:57) Magic eye
(0:59:24) DIN socket (modified)
(1:00:30) Checking the tubes
(1:02:50) Keyboard button repair
(1:03:51) A note regarding hum
(1:05:23) Dial
(1:09:25) Bluetooth module
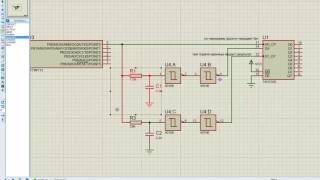
(1:12:36) Schematics
(1:14:37) Serial number chassis label
(1:15:11) Casualties and final view under the chassis
(1:16:18) Putting the chassis back in the cabinet
(1:18:29) Reveal
(1:25:20) Appendix: other options for the original variable capacitor
(1:27:18) Back cover
==================================
Tags: vacuum tubes, antique radios, old radios, vintage radios, old electronics, vintage electronics, vacuum tube equipment