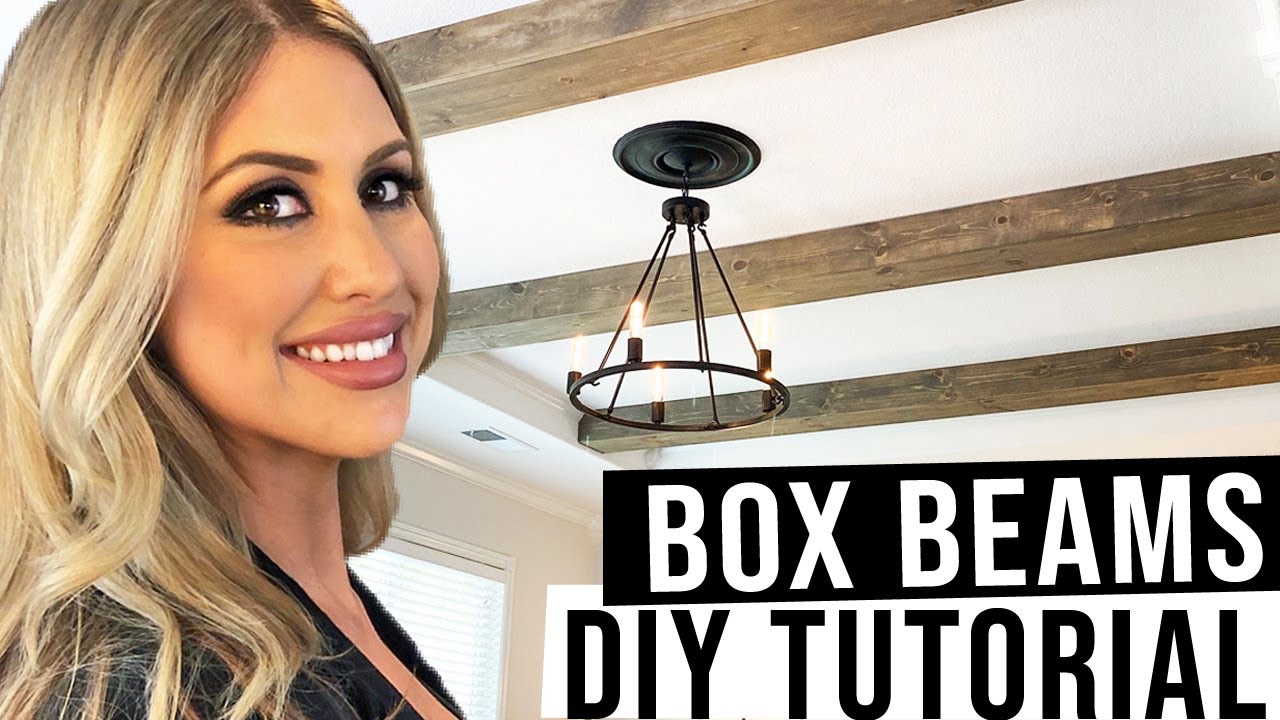
These faux beams look amazing and I think we found the easiest and quickest way make and install DIY Box Beams! These ceiling beams do not require mitered edges, and we used standard sized boards, so there is no need to rip down any wood. We used 10' long boards and only had to take a 1/2 inch off each board for them to fit perfectly in our tray ceiling. Because our room is very long, we opted for chunky ceiling beams to better fill the scale of the room. We used 1x8x10 boards for the top and bottom, and 1x6x10 boards for the sides (our beams are wider than they are tall, but your don't have to be!).
If you decide to try this project for yourself, I want to see! Tag me on IG @AmandaFallonHomes in your project pictures =)
Let's connect!
Insta: @AmandaFallonHomes
FB: [ Ссылка ]
Website: [ Ссылка ]
E-mail: AmandaFallonHomes@Gmail.com
Cell: 714-328-0233
PRODUCTS USED:
- Common Boards : (8) 1x8x10 and (8) 1x6x10 to make (4) total beams.
- Drywall Screws to attach top mounting board to ceiling.
- Trimhead Screws to assemble the U-Beam & to attach U-Beam to top mounting board: [ Ссылка ]
- Drill: [ Ссылка ]
- Wood Filler for small drywall repair (I use Drydex) & touchup paint for walls: [ Ссылка ]
- Stainable Wood Filler (optional) to fill and stain behind trimhead screws: [ Ссылка ]
- Sander to prep the boards that will be exposed: [ Ссылка ]
- Wood Conditioner: [ Ссылка ]
- Wood Stain & Staining Pad (see my stain recipe below)
- Circular Saw, Miter Saw or some other method to cut your common board to the needed length (to fit the width of your room). We cut ours at home, but you can have Home Depot or Lowes cut your wood for you at the store -- you just need to know EXACTLY the length you need your wood cut to beforehand. I highly recommend our miter saw: [ Ссылка ]
KEEP IN MIND that the "common" dimensions for wood are not the same as the actual dimensions... for example, a 1"x6" is actually a 3/4"x 5.5". This is especially important to know when you are measuring and marking your room in order to have correct spacing between beams.
My STAIN RECIPE:
I love this mix because it matches my floors so well!
Step 1: Apply Varathane Wood Conditioner ([ Ссылка ]) generously, let dry.
Step 2: Apply Varathane Classic Gray Stain ([ Ссылка ]), let dry.
Step 3: Apply Varathane Briarsmoke Stain ([ Ссылка ]), let dry.
I also used this stain mix on our DIY Sofa Table & DIY Large Rustic Coffee Table!
Sofa Table Tutorial: [ Ссылка ]
Coffee Table Tutorial: [ Ссылка ]
Accent Wall Tutorial: [ Ссылка ]
Please leave me your comments and questions =)
MUSIC
Track: Lemon Fight - Stronger (feat. Jessica Reynoso) [NCS Release]
Music provided by NoCopyrightSounds.
Watch: [ Ссылка ]
Free Download / Stream: [ Ссылка ]
Track: Unknown Brain - Roots (feat. Attxla) [NCS Release]
Music provided by NoCopyrightSounds
Watch: [ Ссылка ]
Free Download / Stream: [ Ссылка ]


![Пару минут и тебя накроет! | MEOW - 2 серия [4K]](http://i.ytimg.com/vi/pNBJ8gGhX88/mqdefault.jpg)


![Стыдно быть дешевым, сынок! | MEOW - 3 серия [4K]](https://i.ytimg.com/vi/gdpT0LkA7eY/mqdefault.jpg)